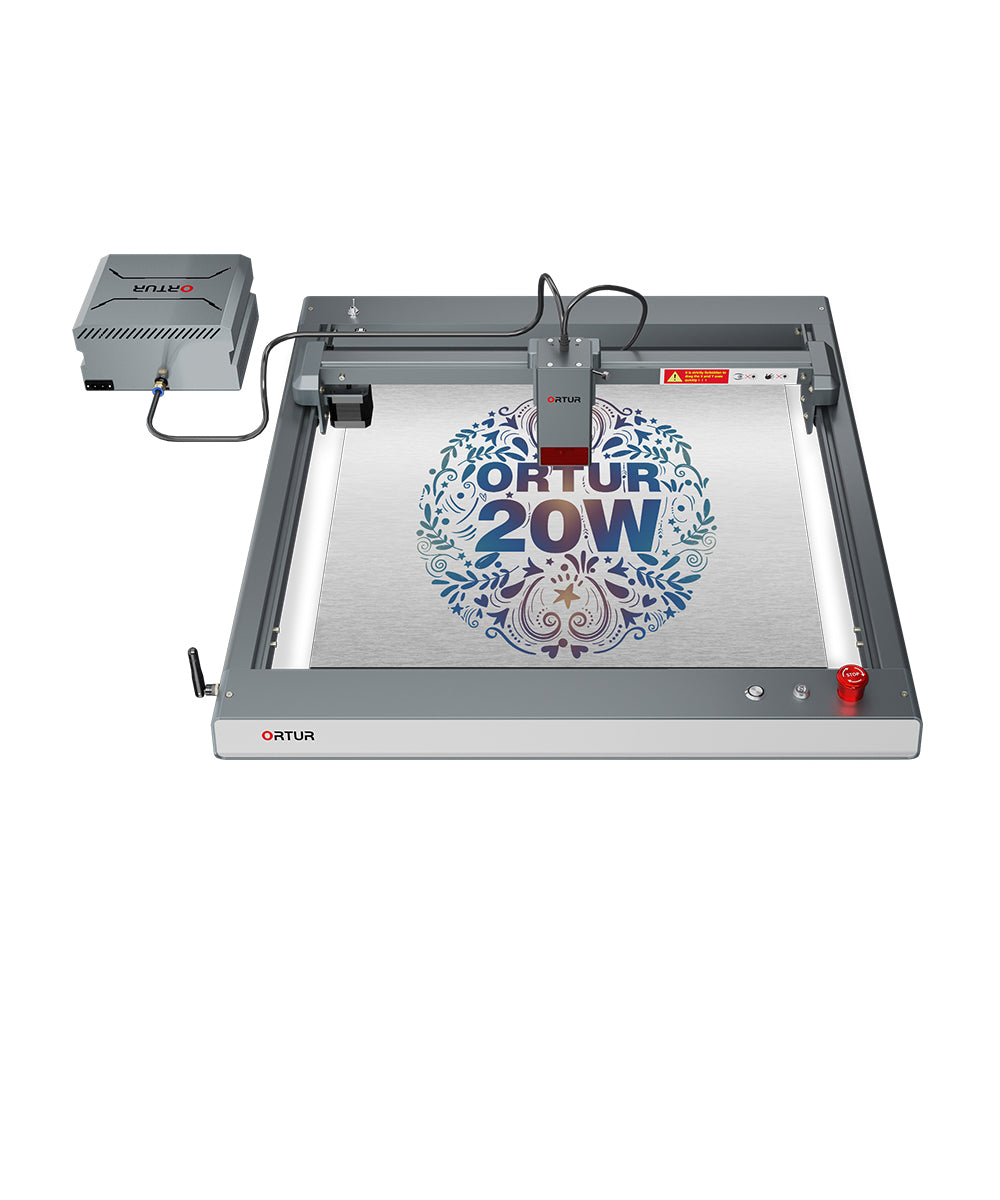
About the situation that many novices don’t know how to set parameters to engrave good results in the process of using LaserGRBL, I think it is necessary to make a document that is quick and easy to understand for novices. Although we have a lot of video tutorials and reference tutorials for picture parameters.
This document I don’t talk about the use of LaserGRBL, because each machine is different, the use is slightly different. However, the law of engraving parameters can be followed, as long as you understand it, you no longer need any reference, you can adjust it yourself.
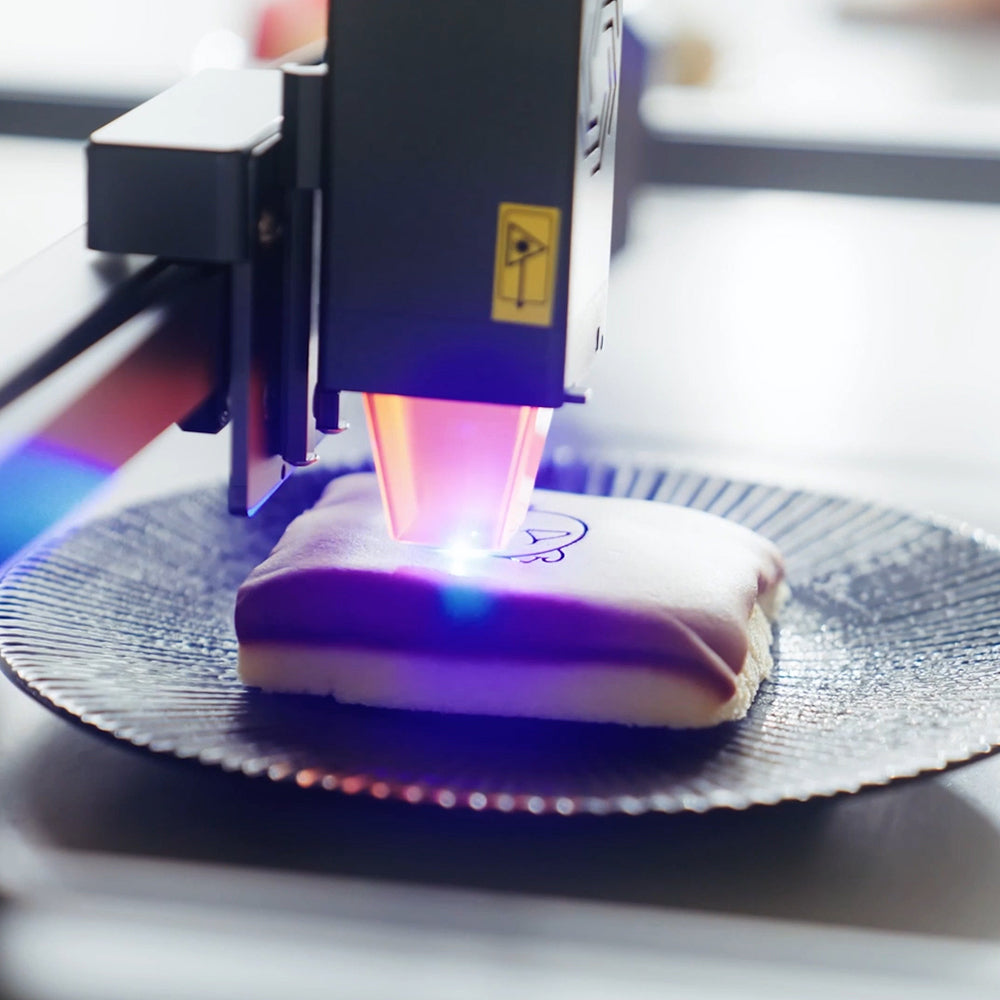
1、Engraving grayscale image
The original image is as follows:

When we select an image, the first page to set parameters appears, as shown below:

Usually, when engraving grayscale images for the Aufero2 machine, the parameters framed in red are the most basic settings.
Brightness: Brighten or darken the overall picture.
Contrast: Make the black and white of the picture more distinct or less obvious
White Clip: Make the white area more white.
These three parameters can basically determine the overall engraving imaging effect. When we engrave a grayscale image, in fact, many times, we are fine-tuning these three parameters. Other parameters are basically OK according to the laser engraving parameter table.
Let's see the effect after I fine-tune these three parameters, as shown below:

You can see that I adjusted the brightness and contrast, the overall picture sense variable, which helps the laser engraving between black and white. Because you have to keep in mind that the laser will only engrave the black part. If the overall picture is too dark, the image will be very black, and the engraved image will feel blurred. The white clip is generally not used in grayscale and is generally used in black and white images.
The remaining parameters framed in red.
Line-to-line tracing: Engraving pictures basically use this mode
Direction: Generally choose horizontal. Because the setting of the Aufero2 machine is that the horizontal engraving is the highest precision, and the grayscale imaging effect is the best.
Quality: Usually 15 or 10. In my test, 15 is generally the best parameter in the grayscale image.
Next, we come to the second parameter setting page.

Generally speaking, the first parameter "speed" and the third parameter, the S-MAX of the laser (that is the laser power)are seen together. When the engraving speed is faster, the S-MAX of the laser must be larger, otherwise the engraving will not leave a pattern. . If the engraving speed is slower, the S-MAX of the laser should be smaller.
The second parameter: the engraving grayscale image is unified in M4 mode. M4 mode is also called M4 dynamic power. When performing engraving work, the laser head must continuously accelerate and decelerate to follow the direction change.
Conclude: To achieve good grayscale image engraving, we usually only need to fine-tune the brightness and contrast, and the rest of the parameters can refer to the given parameter table. After you have fine-tuned it, if you still feel that the picture is relatively dark, you may need to lower the S-MAX of the laser.
2、Engraving black and white illustration
The original image is as follows:

When we select an image, the first page to set parameters appears, as shown below:

For black and white images, because there is no excessive grayscale, the parameters of the first page are basically set like this, and no fine-tuning is required.
But there is an exception, that is, when you engrave a black and white image and find that even the white area is engraved by the laser, this is because the software recognizes the white area of the image and thinks it is black. At this time, you need to adjust a parameter: the white clip. It can make the white areas whiter, and if that happens to me, I usually limit the white to the max. In other cases, the default value is 0.
Next is the second parameter setting page

The parameters of this page can also be set according to the laser engraving parameter table, and basically do not need to be adjusted.
3、Cutting
The original image is as follows:
The first parameter setting page is as shown below:

The first red framed part, the parameters are usually set like this, without any fine-tuning.
Just the second red boxed parameter: Vectorize. This mode is dedicated to cutting, so choose this mode for cutting.
Then go to the second parameter setting page:

The second parameter here is to choose M3 mode, which is also called constant laser power mode. As long as it is cutting, we choose M3 mode: just keep the laser power in the programmed state, no matter whether the machine is moving, accelerating or stopping. This allows for better control of the laser state. This can result in a more consistent cut for tougher materials.
Since it is cutting, of course, the speed should be slower, and the S-MAX (laser power) should be larger, so as to facilitate cutting, these two values basically refer to the laser engraving parameter table.

Leave a comment
All comments are moderated before being published.
This site is protected by reCAPTCHA and the Google Privacy Policy and Terms of Service apply.