Configuring Best Lightburn Setting
for Photo Engraving with Laser
Learn the best lightburn setting for photo engraving when executing your DIY and professional projects with your shiny new laser cutter and engraver.
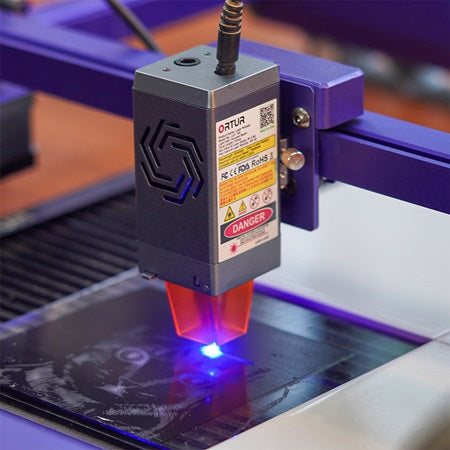
A big chunk of all the photo engraving being done in 2024 is handled on a laser engraver, and this usually needs an appropriate setting otherwise you end up burning or with undesirable cuts. Lightburn is a time-tested software for laser engraving machines that, when set properly for photo engraving, can yield high-quality end products. So again, you need to know the best lightburn setting for photo to get the results you are looking for.
LightBurn includes several additional features for working with laser engraving images, including image editing as well as optional settings of the laser’s path, power, and speed of the laser moving through. The software can be used on most laser devices currently on the market, i.e., CO2, diode, and fiber. It is also recommended for common materials like wood, acrylic, or metal. But again, to get good results, your skill to learn the very best lightburn setting for photo engraving is needed. Here's how to do those now:
1. Conversion to GrayScale
The very first step involves the conversion of the given image to grayscale, as laser engravers work better while reading grayscale images; the darker areas are used to determine the depth, and the lighter areas indicate the intensity of the engravings. To get grayscale in LightBurn, all you need to do is find the “Image Mode” option and select a grayscale conversion option.
2. Adjust Contrast/Brightness
The logic is simple here: a higher contrast will enable a better definition of the engraving to be made, especially when working on images that have a gradient of shades and small details. So, in the Lightburn settings, increase the contrast + brightness for better results. Increase the contrast moderately with 10 to 20% ups to make the darker areas stand out more. Similarly, adjust brightness by reducing it slightly from -10% to -20% to prevent overexposing light areas in your design.
3. Dithering Techniques
LightBurn offers various methods by which you can unmask a grayscale image into dots, which makes it easier to manipulate. These include Jarvis, Floyd-Steinberg, and Stucki, which enhance the pattern of movement of the laser and the quality of the engraving.
Now, your image is ready, but we are not yet done with the best settings, as these also include those for your laser engraver being configured through Lightburn:
1. Power Settings
The power defines how strongly the laser goes through with the material, or, in simple terms, how strongly the material burns under the laser. As for photo engraving, it is better to start with less power, and at the same time, regulating power is often better. We recommend that in most cases you don’t want to go over 20-30% of your laser’s full output when doing detailed photo engraving on delicate materials such as wood and acrylic. If your laser engraver is under 20 watts, then starting with a little higher is still okay, but we recommend always doing a little research depending on your surface material type.
2. Speed Settings
This is the speed of movement of the laser across the material. A slow rate helps to burn deeper and leave fine lines, but a very slow rate will overburn the material. The recommended speed is different for each type of material; for wood, this speed ranges from 300-500 mm/min for engraving elaborate text or logos on the product. Similarly, for acrylic, It may be slower, in the range of 200–300 mm per minute, depending on the material hardness.
And finally, for metals, high-power laser cutters can cut in one pass, but some require slower speeds. For example, fiber lasers require significantly slower feed rates of about 100–200 mm/min to engrave complete photo details without overcutting.
3. DPI
It regulates the density of your engraving, and the greater the DPI, the more details, and simultaneously, the longer the time to complete the task. The DPI for the photo engraving will depend on the specific job in question, but you should aim at using a DPI of between 300 and 600. So, for wood carving with high detail, 300 DPI will do, whereas acrylic may be ideal for 400–600 DPI.
4. Scan Gap
It is the count (in lines per inch) of the distance between each pass made by the laser. A smaller line interval means more detail, but it will take a long time. About the DPI, the line interval is highly related, and for the 300 DPI, the line interval suggested is around 0.085 mm.
5. Image Mode
Open settings and change the laser mode to "Image." In this mode, you will be able to select threshold, dither, and grayscale. The best mode that works well with photo engravings is dithering, particularly because it maps the grayscale images into a collection of dots.
Tips and Tricks
Even with the best light burn setting for photo engraving mentioned above, things can still go wrong for many reasons. We recommend always using scrap pieces for test engravings to be sure of the settings. We also recommend multiple light passes instead of one heavy one to avoid burning and always focus the laser properly.
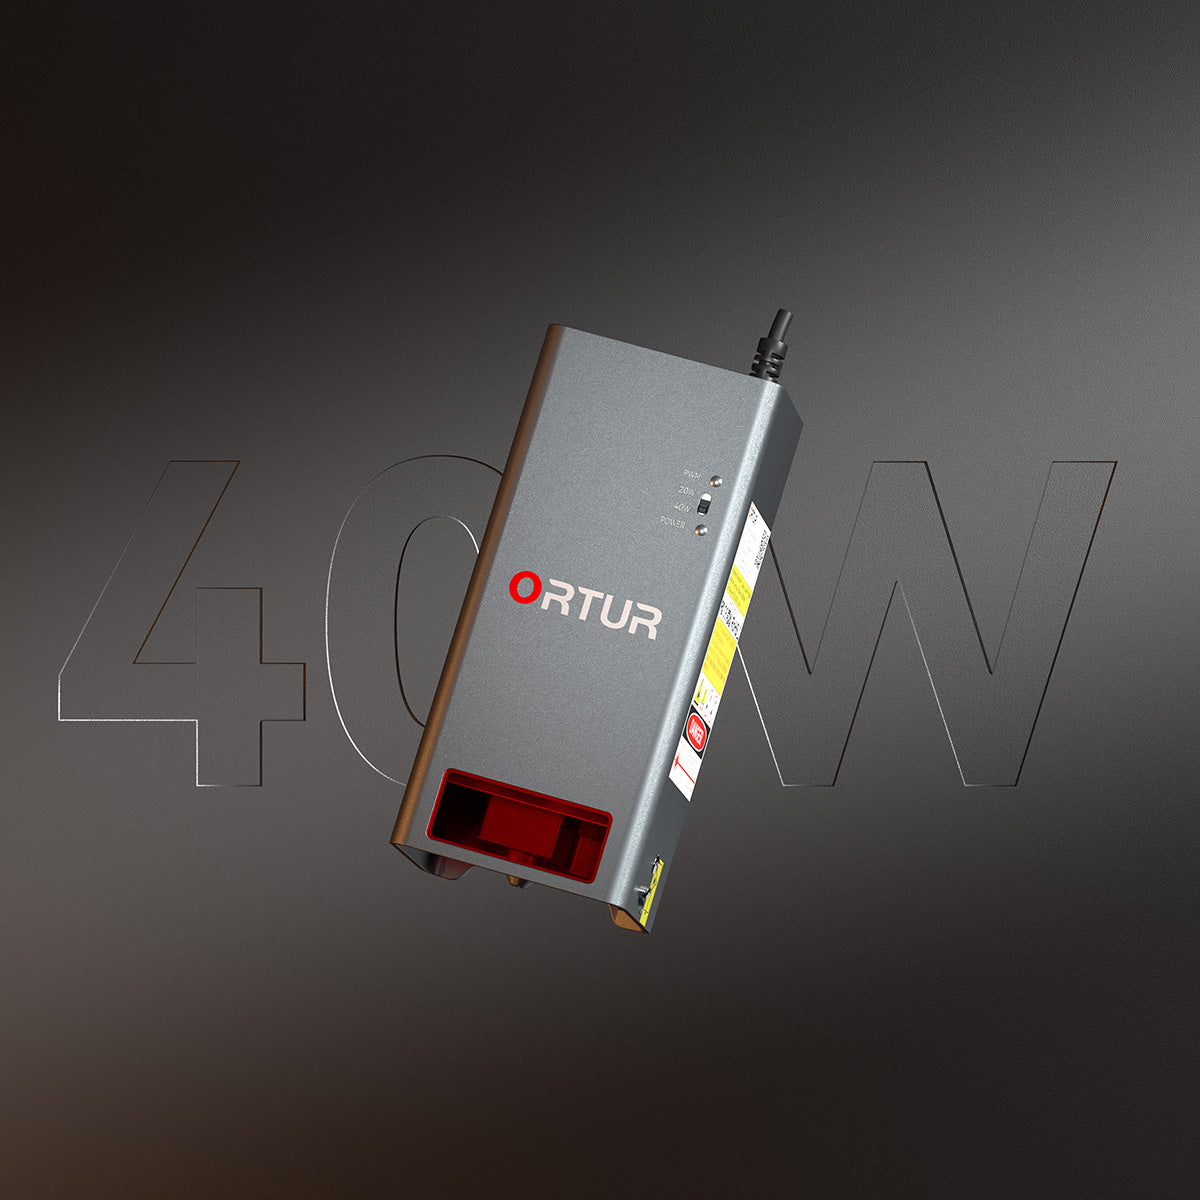
Using a capable laser engraver like Ortur LM3 can easily solve these issues with its ultra-precise laser stick and next-generation Air Assist system. A dual fan setup coupled with air-guided blinds makes the entire process of photoengraving smooth and safe. You also get a wide range of accessories so that your creativity gets a limitless canvas.