
A Complete Tutorial of Professional Photo Etching on Glass with Laser
Etching can be tricky but photo etching on glass requires some serious knowledge and skill to get desirable results. We have compiled a complete guide for you to cover this topic.
- Introduction
- What you need for Photo Etching on Glass
- Step-by-Step Process for Photo Etching on Glass
- Wrapping Up
Introduction
Etching a photo to a simple piece of glass is a great way to decorate your living space which is a process of creating decorative designs, patterns, or images on the surface of glass by removing a small amount of the surface material through different methods. Glass-etched items are loved by many and can also be gifted to other people during celebrations and other functions. There are several methods to transfer the photo to the glass: but the most effective one is laser engraving.

In the past, different traditional techniques were used including acid etching, sandblasting, and glass etching creams. Modern techniques include laser engraving and cutting on glass for photo etching is a delicate technique to produce beautiful, and detailed impressions images but requires a great amount of technique and skill. This tutorial below will take you step by step right from the choice of tools and materials to the set of skills necessary to get the professional outcome.
What you need for Photo Etching on Glass
1. Glass items
You can select a wide variety of glass types and glass items according to your use case. The most common glass items used for laser etching are picture frames, mirrors, wine glasses, and tumblers.
2. Laser Engraver
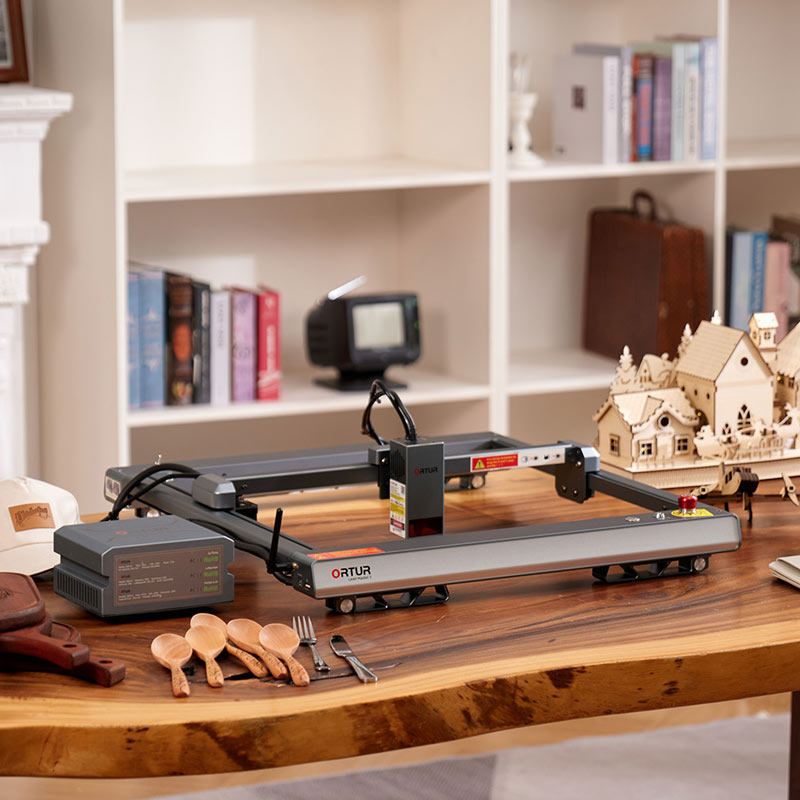
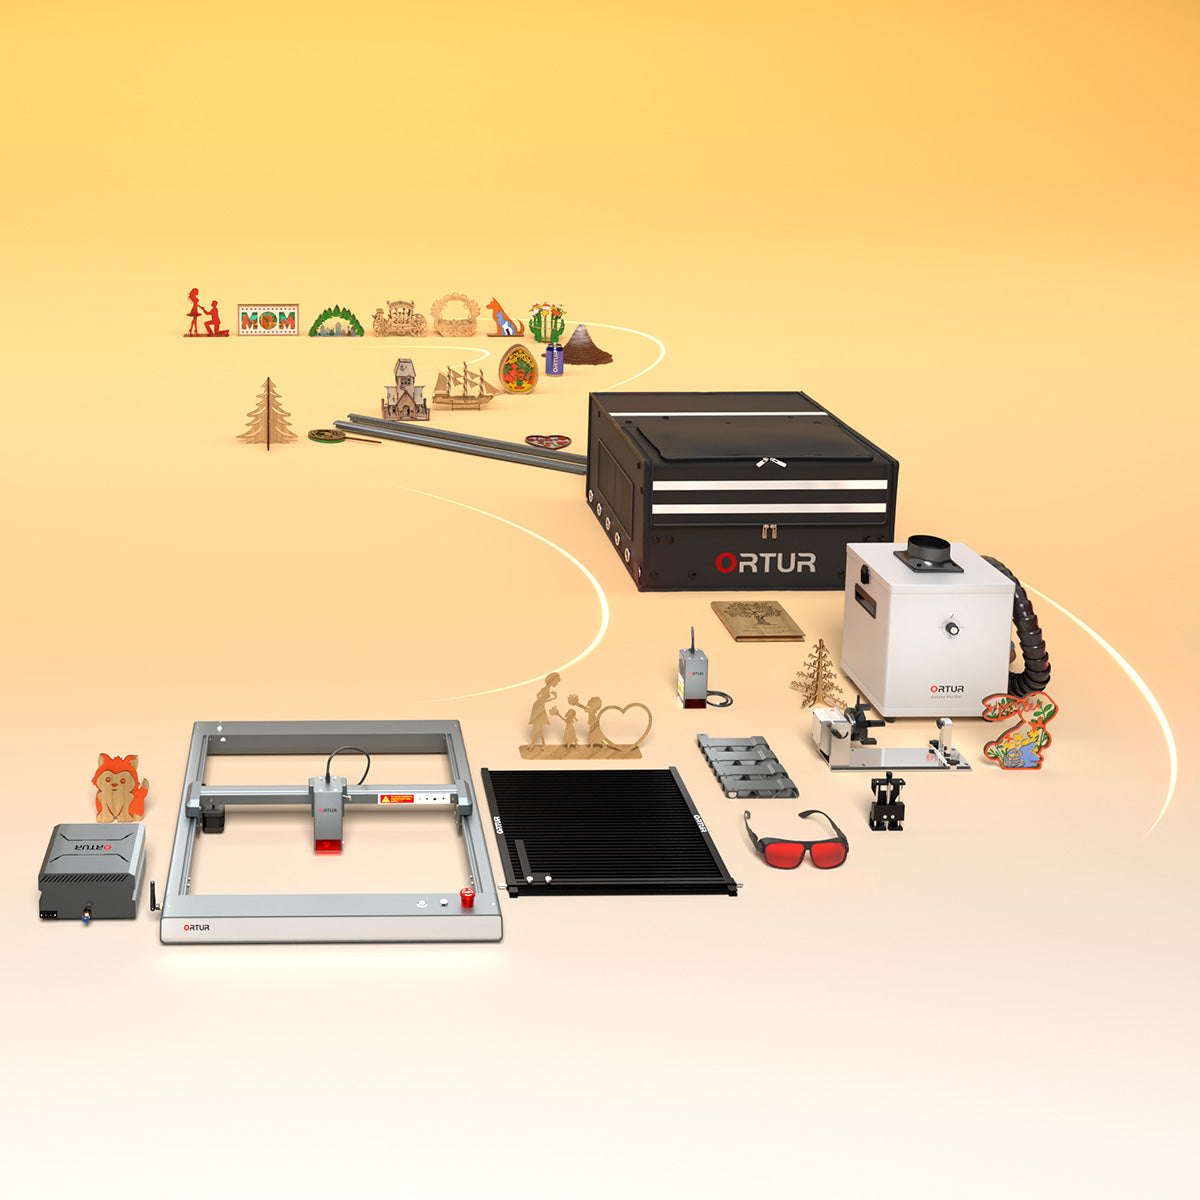
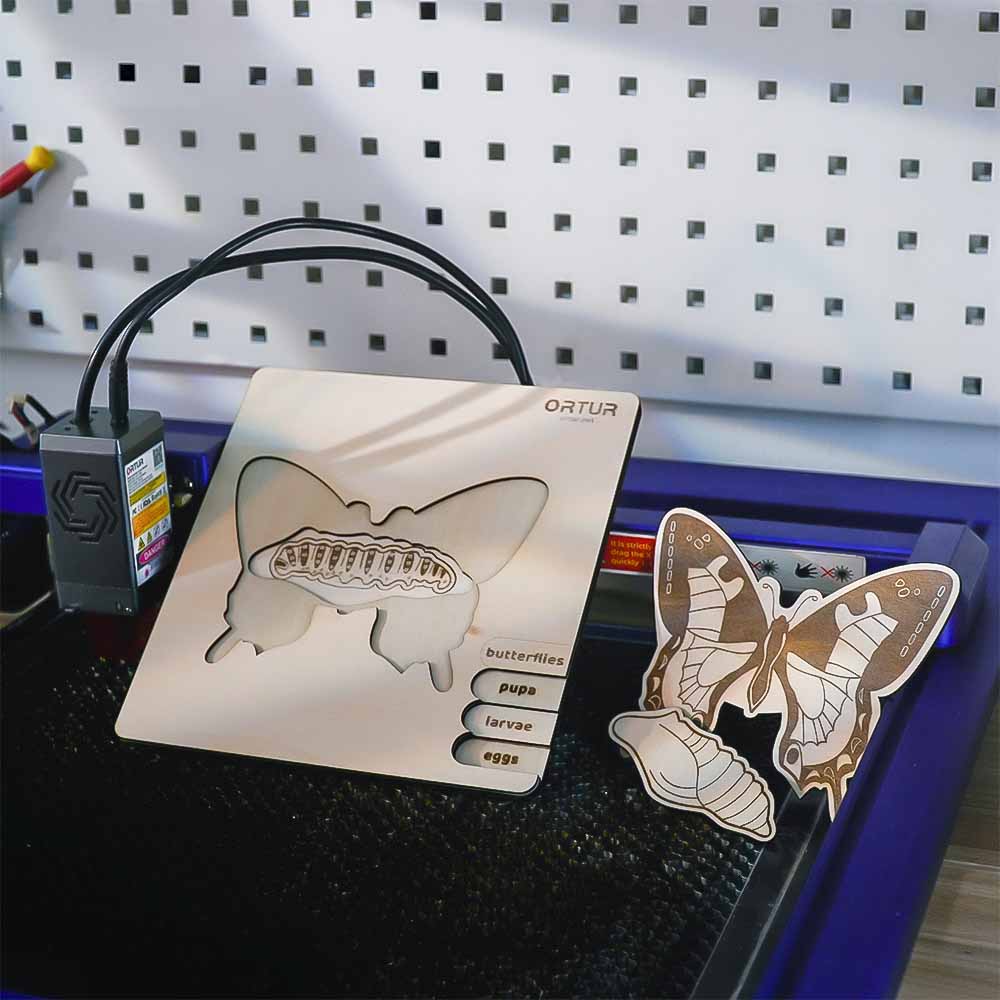
This one is obvious but we want to stress that you need a reliable laser engraver that gives consistent results and its laser module is optimized for glass etching. Ortur LM3 laser cutter and engraver is such a great hardware offering that comes with a “quick focus stick” which ensures an accurate etching on the glass with super safe operation.

3. Design File and Design Software
Every laser engraver works with software that can import a design file that can etch on the glass. This software also comes with the functionality of creating and editing designs. Common ones are Adobe Illustrator, LightBurn, and CorelDraw, all offer excellent control over editing and laser parameters. Ortur’s LM3 comes with its own software called Inspiraesth, a professional engraving and etching software designed for both newbies and pros.
4. Cleaning Supplies
Glass etching comes with a lot of residues made during the process which can be dealt with by a superior laser cutter with capable cooling and air circulation systems. Such residue can seriously interfere with the laser beams and result in the degradation of the etching on the glass.
Ortur LM3 comes with an ultra-efficient “Integrated air assist system” that features a built-in air tube that is coupled with a 50L air pump to reduce burn marks by 50%. Air-guided blinds and dual fans keep the laser engraver cool and remove any residue buildup, the result is a consistent etching on your glass. We also recommend using Isopropyl Alcohol for cleaning the glass surface with a microfiber cloth before and after the etching is done.
5. Other Tools
Other things include proper PPE like eyewear to protect your eyes from laser reflections and proper gloves to handle glass safely. If you are etching cups or tumblers then you need extra addons of your laser hardware to allow etching on a spherical surface. Ortur LM3 comes with “YRR 3.0 Rotary Roller for Cylinder Engraving” which enables photo etching on glass surface of cups and tumblers.

Step-by-Step Process for Photo Etching on Glass
- 1.The very first step is to choose and prepare your photo which must be in high resolution and good contrast to get optimal results. Make sure to select photos with clear details to get good etching impressions.
- 2.Use design software (as explained before) to convert the photo you selected into a high-contrast black-and-white image. Also tweak the brightness, sharpness, and contrast, if necessary. Also, adjust the image size according to your glass item to avoid distortion.
- 3.Thoroughly clean the glass surface with isopropyl alcohol to remove dust, dirt, and oils. We also recommend applying masking tape to areas of the glass that you want to protect from laser etching.
- 4.Once clean, place the glass item on the laser bed while ensuring that it is flat and secure in its position.
- 5.Set the laser parameters for the desired depth and initiate once done. These parameters include power (higher power is for deeper etching), resolution (higher resolution for finer details), and speed (slower speeds for detailed designs).
- 6.Once done, do a test engraving on a spare glass followed by a final etching on the actual item.
- 7.After finishing the etching process, remove the masking tape and use a soft brush to clean any residue buildup. Again, use isopropyl alcohol and a microfiber cloth to clear up the etching. There you have it.
Wrapping Up
As we conclude our tutorial and useful tips for photo etching on glass, we can state that even a well-explained tutorial will not be very effective if your laser engraver and cutter are not optimized for glass etching. We recommend opting for Ortur LM3 for the best results when doing glass etching for spherical objects and other flat gifts.