
Laser Engraving 101: How to Engrave Wood the Right Way
We are searching for how to engrave wood in the best possible way. We got you as this article explains the best practices to do this and our recommendations.
- Introduction
- Stuff you need for Wood Engraving
- How to Engrave Wood (Generalized Method)
- Wrapping Up
Introduction
Laser engraving for wood is becoming a popular side business niche for many which is why SERPs are now witnessing an increased volume of the keywords “how to engrave wood” and “tutorial for wood engraving “. Such engravings are a simple and quick technology that produces pixel-perfect graphics on your favorite things made out of wood.
Laser engravers come with a simple way of operation; aligning your engraving blank, selecting the appropriate parameters, and hitting the button to get the job done. Additionally, you may engrave various materials such as leather, metal, and acrylic. Although you have to spend a considerable amount for the first investment these engravers can both be your hobby satisfiers and also equipment for a small business giving you a nice cost-to-benefit ratio.
Stuff you need for Wood Engraving
Before you get started engraving on your favorite piece of wood, you need to have:
1. A nice piece of art design file preferably in SVG vector format.
2. A laser cutter and engraver (we recommend to go for Ortur LM3)
3. Your wood to be engraved (we recommend high-quality pieces of maple, cherry, and walnut.)
4. Proper PPEs.
How to Engrave Wood (Generalized Method)
1. Fire up your laser engraver and make sure that your design is properly imported and configured into your laser engraving software. Remember to make your design in high resolution and also make sure that it is well-contrasted so that you can get better clarity.
2. Prepare your wood for engraving and put it in the machine's workspace. Position it to etch the design where you want it to go.
3. Once all set, go through the settings inside your laser engraving software to tweak wattage, the height of the blank, and more. Remember that slower engraving speeds allow the laser machine to burn the wood more thoroughly which will result in deeper and more defined engravings. Every wood type and its thickness require different settings on the laser engraver. We recommend doing ample research for your specific wood piece.
4. Focus on the wood where your engraving needs to be done and hit that “start” button on the software. During the process, ensure that there is proper ventilation to remove fumes generated during the engraving process. Also, there should be a mechanism to remove the dust generated during the burning and engraving (modern machines come with integrated systems to deal with this).
5. Once done, we recommend sanding the surface of the item you engraved. This will improve its finish and also protect it. You can also go with a nice thin finish of varnish or suitable oil for your wood type.
The engraving process for newbies can be complicated but by the above tutorials, you should be just fine. To get the best results, we recommend to:
1. Always look for high-quality wood when using them with laser engraves. Such woods are durable for laser engraving, have a consistent grain pattern right from the processing factory, and produce clear, detailed engravings.
2. Select pieces of wood that are free from any knots or splits, both are known to significantly interfere with the engraving process. Also, make sure that the wood you selected is properly dried which will prevent warping leading to much better engraving results.
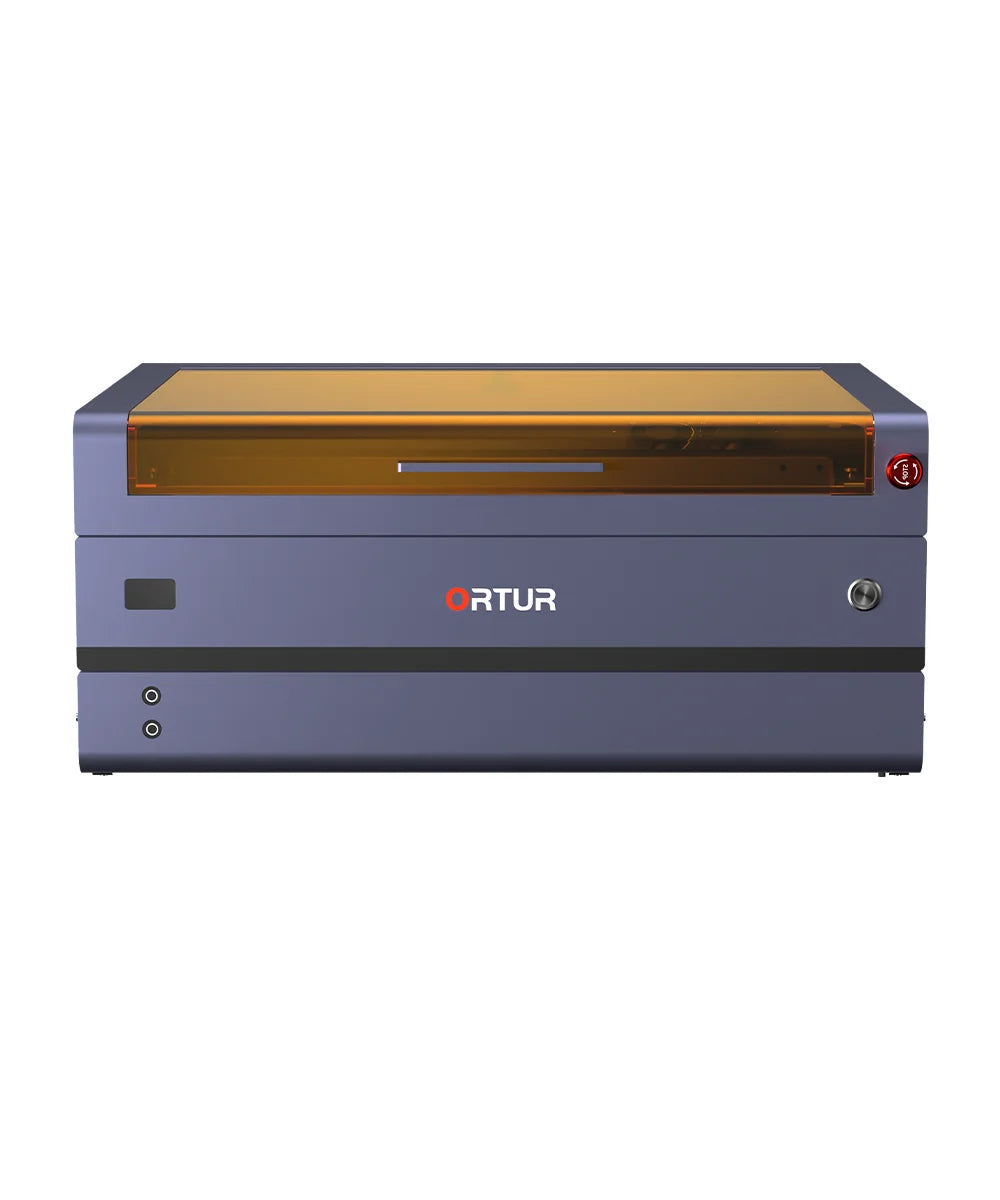
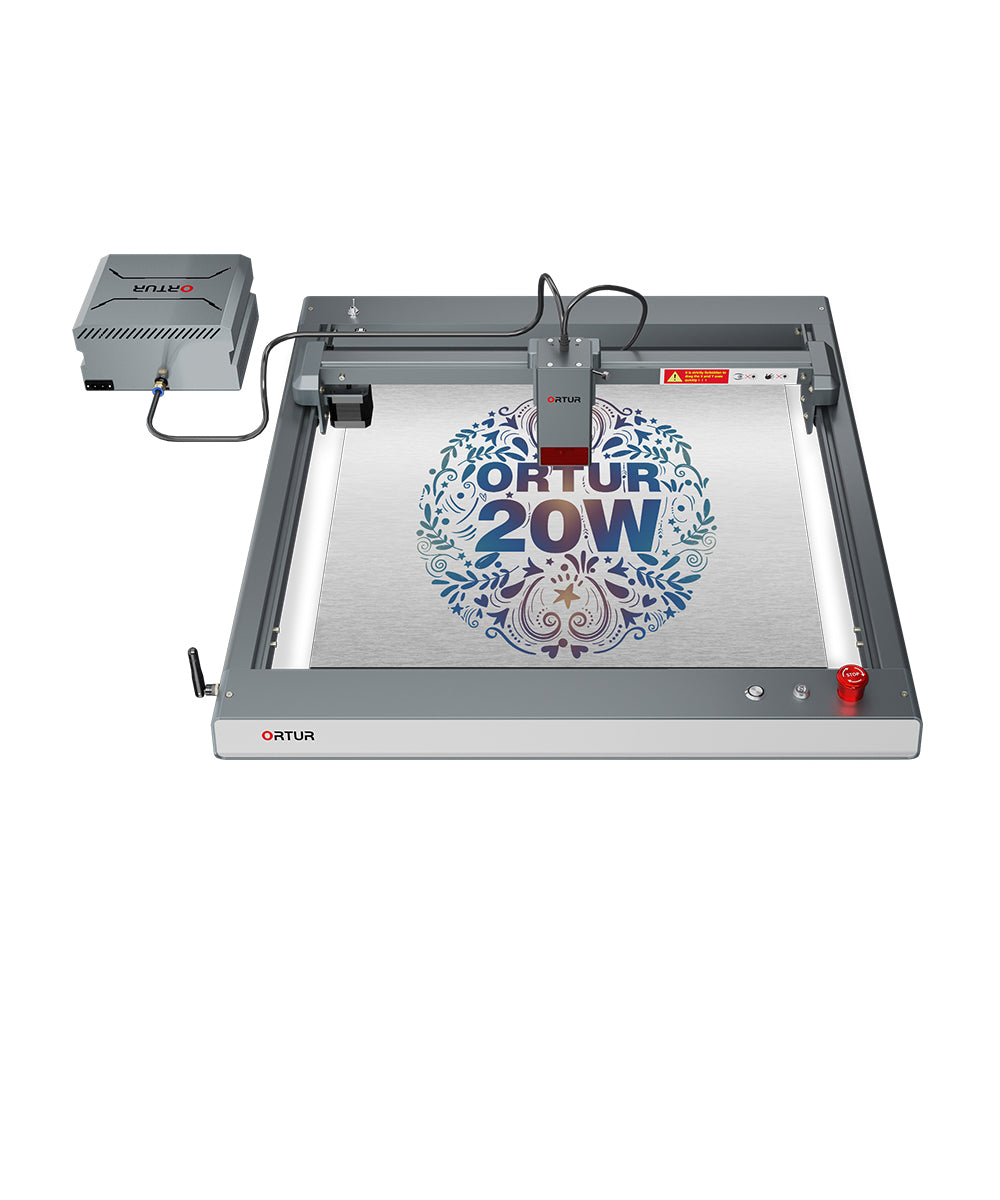
3. Go for Ortur LM3 laser cutter and engraver for the best results on a budget. The market is flooded with countless options that are both expensive and don’t offer cost to cost-to-benefit ratio. The LM3 is packed with a Quick Focus Stick coupled with a dual fan and guided Blind system which makes wood engraving safe and efficient.

Wrapping Up
To conclude our tutorial article for the trending query “How to engrave wood” we can state that the entire process of engraving wood requires care, knowledge of wood, and ample proficiency with your laser engraving hardware. To get the best results for wood engraving, we recommend considering the Ortur LM3 laser cutter and engraver which packs some serious hardware.
Laser Engraving 101: How to Engrave Wood the Right Way
We are searching for how to engrave wood in the best possible way. We got you as this article explains the best practices to do this and our recommendations.
- Introduction
- Stuff you need for Wood Engraving
- How to Engrave Wood (Generalized Method)
- Wrapping Up
Introduction
Laser engraving for wood is becoming a popular side business niche for many which is why SERPs are now witnessing an increased volume of the keywords “how to engrave wood” and “tutorial for wood engraving “. Such engravings are a simple and quick technology that produces pixel-perfect graphics on your favorite things made out of wood.
Laser engravers come with a simple way of operation; aligning your engraving blank, selecting the appropriate parameters, and hitting the button to get the job done. Additionally, you may engrave various materials such as leather, metal, and acrylic. Although you have to spend a considerable amount for the first investment these engravers can both be your hobby satisfiers and also equipment for a small business giving you a nice cost-to-benefit ratio.
Stuff you need for Wood Engraving
Before you get started engraving on your favorite piece of wood, you need to have:
1. A nice piece of art design file preferably in SVG vector format.
2. A laser cutter and engraver (we recommend to go for Ortur LM3)
3. Your wood to be engraved (we recommend high-quality pieces of maple, cherry, and walnut.)
4. Proper PPEs
How to Engrave Wood (Generalized Method)
1. Fire up your laser engraver and make sure that your design is properly imported and configured into your laser engraving software. Remember to make your design in high resolution and also make sure that it is well-contrasted so that you can get better clarity.
2. Prepare your wood for engraving and put it in the machine's workspace. Position it to etch the design where you want it to go.
3. Once all set, go through the settings inside your laser engraving software to tweak wattage, the height of the blank, and more. Remember that slower engraving speeds allow the laser machine to burn the wood more thoroughly which will result in deeper and more defined engravings. Every wood type and its thickness require different settings on the laser engraver. We recommend doing ample research for your specific wood piece.
4. Focus on the wood where your engraving needs to be done and hit that “start” button on the software. During the process, ensure that there is proper ventilation to remove fumes generated during the engraving process. Also, there should be a mechanism to remove the dust generated during the burning and engraving (modern machines come with integrated systems to deal with this).
5. Once done, we recommend sanding the surface of the item you engraved. This will improve its finish and also protect it. You can also go with a nice thin finish of varnish or suitable oil for your wood type.
The engraving process for newbies can be complicated but by the above tutorials, you should be just fine. To get the best results, we recommend to:
1. Always look for high-quality wood when using them with laser engraves. Such woods are durable for laser engraving, have a consistent grain pattern right from the processing factory, and produce clear, detailed engravings
.2. Select pieces of wood that are free from any knots or splits, both are known to significantly interfere with the engraving process. Also, make sure that the wood you selected is properly dried which will prevent warping leading to much better engraving results.
3. Go for Ortur LM3 laser cutter and engraver for the best results on a budget. The market is flooded with countless options that are both expensive and don’t offer cost to cost-to-benefit ratio. The LM3 is packed with a Quick Focus Stick coupled with a dual fan and guided Blind system which makes wood engraving safe and efficient.
Wrapping Up
To conclude our tutorial article for the trending query “How to engrave wood” we can state that the entire process of engraving wood requires care, knowledge of wood, and ample proficiency with your laser engraving hardware. To get the best results for wood engraving, we recommend considering the Ortur LM3 laser cutter and engraver which packs some serious hardware.
Keep in Touch with Ortur
Keep in Touch with Ortur
Related Articles

Your 2024 Yearly Dose of the Best Laser Engraving Ideas

Guide 2024: Where to Sell Art Made with Laser Cutters

Awesome Things to Make out of Wood with Laser Cutters At Home
Related Articles
Your 2024 Yearly Dose of the Best Laser Engraving Ideas