Guide to How to Make Acrylic Earrings
Using Laser Cutters
Your search ends here if you were searching for how to make acrylic earrings using your laser engraver hardware. Read along to learn more.
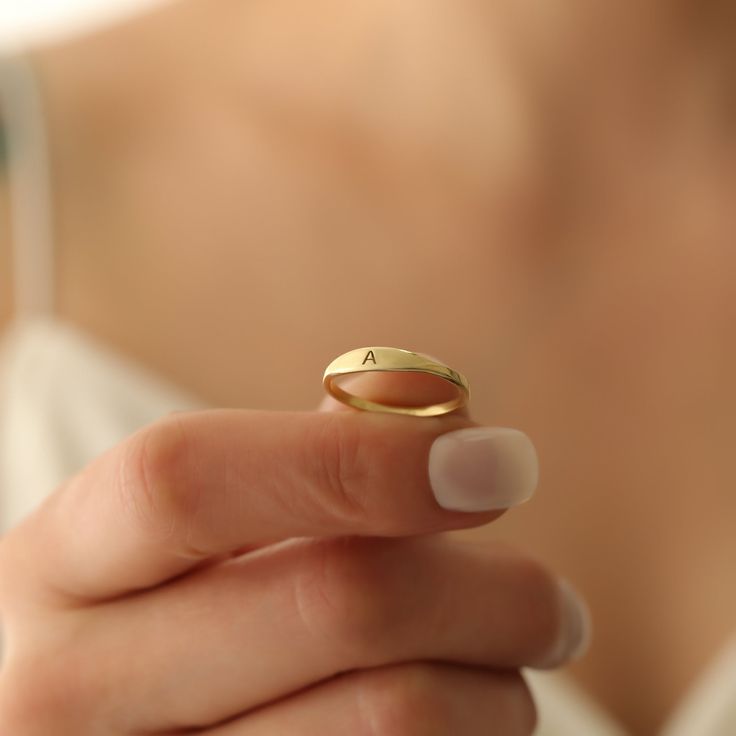
We all like using something unique, something in fashion that has a touch of you. Accessories give us a feel of personalization, and items like earrings and pendants are the top choice for many. These items are now increasingly made with acrylic material instead of conventional wood, steel, and plastic. That is why netizens are searching for how to make acrylic earrings on Google these days.

Why Laser is better for Acrylic Earrings
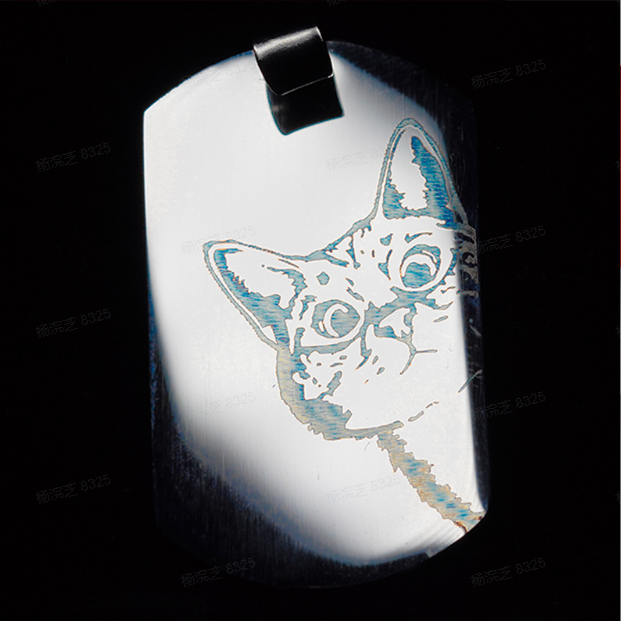
So, why acrylic, right? Well, go to any platform where DIY and art are purchased (such as Etsy). There you shall find acrylic earrings since they have culminated into the trend within fashion accessories due to their ability to come in different colors, be light in weight, and have design flexibility. You might know that laser engraving/cutting technology has significantly improved over the years and is now also used in developing unique acrylic earrings.
With laser beams, the corners of such earrings are clean and smooth. The overall design is also very detailed, with smooth carving patterns that are hard to accomplish with conventional techniques and are thus mostly free from secondary operations. Not to mention, laser beams are super-efficient and make earrings; it takes a few seconds to get a nice pair of earrings.

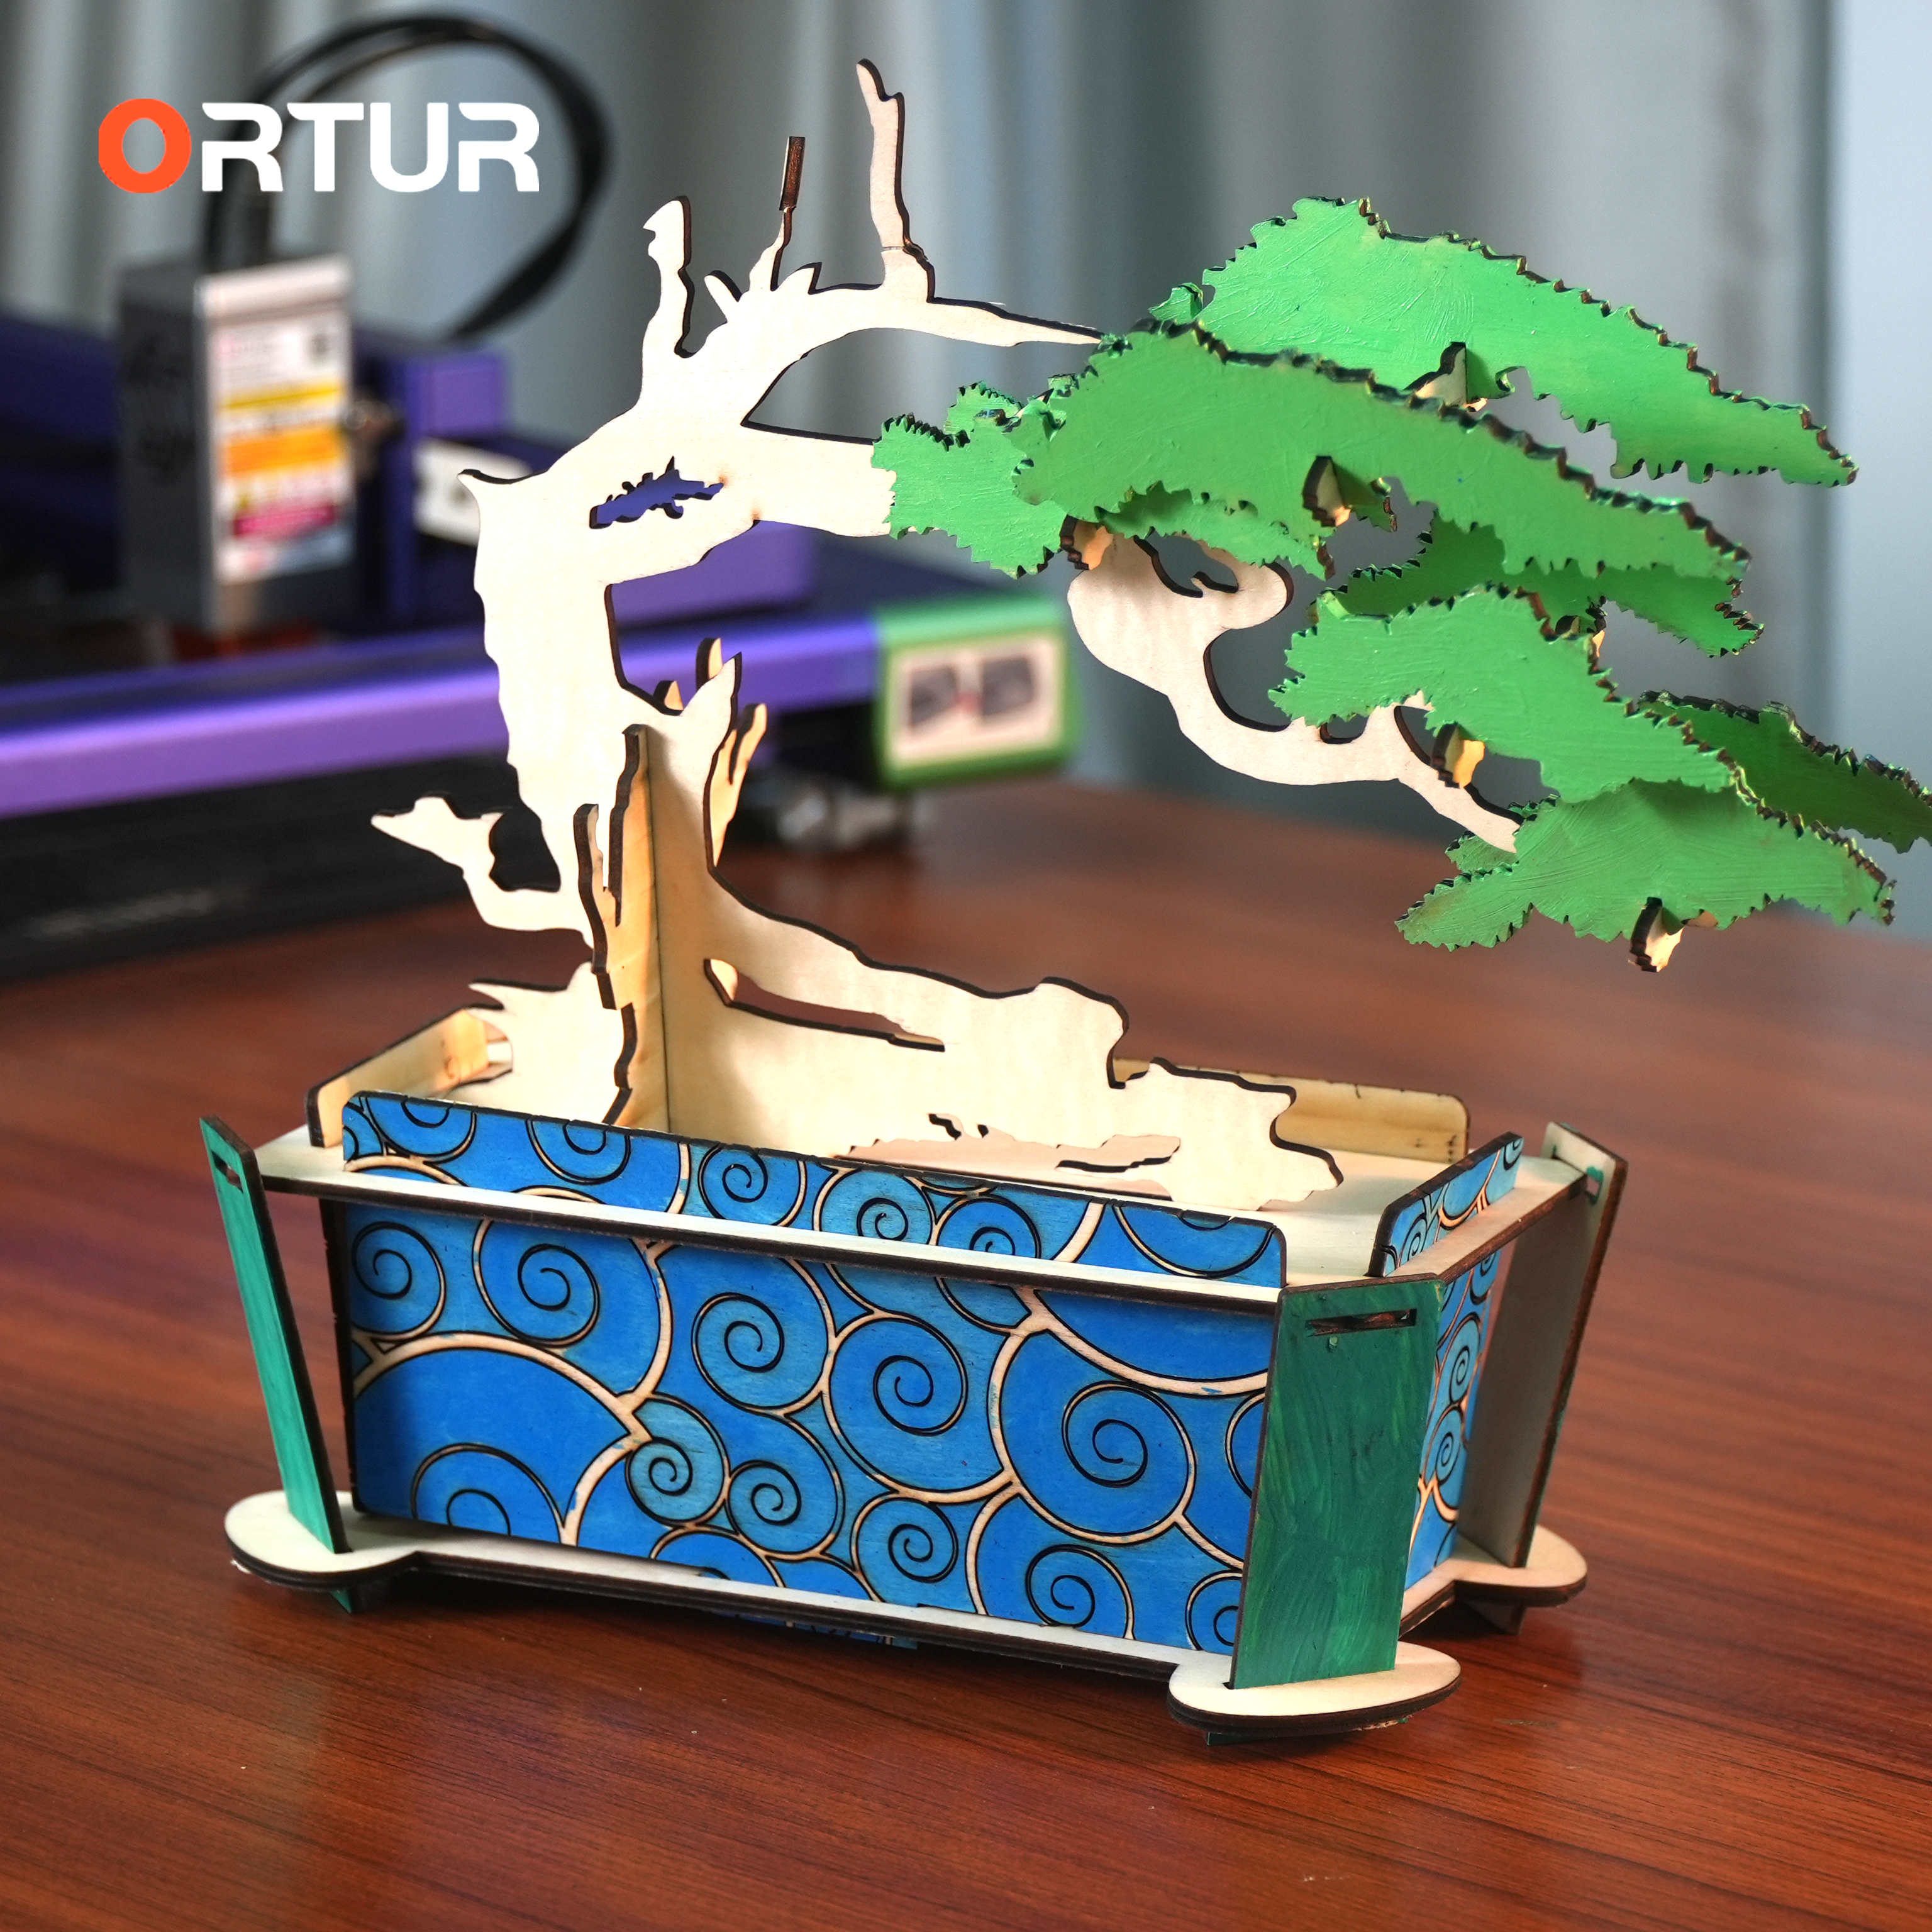
Such results can be achieved only when you are using a reliable laser cutter and engraver, like the Ortur LM3 laser cutter. Powered by its software "Inspiraesth," this legendary hardware features 4 laser beams of 5 watts (20 watts in total) which come out through an ultra-accurate focus stick. Moreover, you also get dual fans with 10,000 rpm speeds and guided blinds for ample ventilation, so that your earings are kept at cool temps when engraving.
To get going with the Limited Edition Ortur Laser Master 3 or any other laser engraver you have in your garage, this is how to make acrylic earrings the right way:
- Create a Design File.
The best way to do that is to start by drawing out your concept of earrings on a piece of paper. The kinds of shapes, patterns, and sizes should be thought through so that the earrings prove unique.
Once done, transform your drawings to vector format (for example, to Vector, SVG, DXF, AI) in your computer. In these vector files, “graphic paths” are useful in the guidance of a laser cutter and result in better accuracy. Instead of using the same color to show a cutting and engraving line in your design file, try using a new color or layers. - Understand the Acrylic Types
When you dive into the acrylic world, you will find two types of materials used to make acrylic earrings: cast acrylic, which is preferred for laser cutting due to its smooth, clean edges and superior engraving quality. The second one is extruded acrylic, which is generally cheaper but may not yield as clean cuts as cast acrylic.
Extruded is more prone to melting and is less suitable for intricate designs. The speed, power, and passes required for cutting your acrylic sheet will depend on the width of the sheet you are using. We recommend choosing cast acrylic sheets in between 1.5mm and 3mm for earrings. - Test and Execute
Before you go ahead and cut your final pieces, this is a good idea to do them in cardboard or scrap acrylic first. This helps to influence the changes to any design flaws that would have otherwise been unwise to change since the premium acrylic sheets were used.
Put your acrylic sheet on the cutting bed of the laser cutter once you have done with your trials. You can also use masking tape to secure it provided that the bracket is small enough to allow sufficient space for its movement. Start the laser cutting process from the software of your laser gear and observe the entire process. Make sure that all the cuts are smooth and all engravings are proper. In the case of Ortur LM3, there is a high chance that this process will go smoothly. - Smoothen up
Once done, there might be some residue or some burnt marks on the acrylic once the cutting has been made. Wash your pieces with mild soap and water or use only a cleaner that is meant for use on acrylic pieces. Although the ventilation system of LM3 removes any build-up just in case, check the residue. - Finishing Touches
We assume that your design will also contain earring hooks or other findings, which means that you need to drill small holes (some designs have holes made from laser cutting). To make such holes, we recommend always working at slow speeds as high speeds can crack acrylic surfaces.


To get that final smooth look, you can use fine-grit sandpaper to eliminate any rough surfaces and rough areas or use the deburring tool. Some people also use flame polishers which can give you a gleaming but skills are required to do it without burning your lovely earrings. So, now you know how to make acrylic earrings, the only thing that remains is choosing the right laser cutter and engraver for which the Ortur LM3 remains the best choice due to its features recommended for acrylic cutting.