How do You Turn a Digital File into
T-shirt using Laser Tech?
This is where you will learn how do you turn a digital file into t-shirt using a laser cutter and engraver and not make mistakes, which most rookies do when they start their DIY projects.
Introduction
T-shirts are incredibly common; we assume a few shirts are hung up in your wardrobe too. Everyone loves to have a unique short personal to them, and with the arrival of laser technology, the DIY industry has a new way to make custom and personalized t-shirts.
In 2024, people love to make their own t-shirts, which is why search engines are experiencing a high trend in queries like what is laser printing and how do you turn a digital file into t-shirt. Digital designs are used to create such t-shirts. Since personalization is the new trend, many people use digital designs to make t-shirts. It only takes a little technology enhancement here and there to bring out the next-generation laser that can turn your digital files into beautiful prints on t-shirts that will last and are reliable as well.
However, to proceed with laser tech for t-shirts, one should know that it differs from most screen printing or thermal transfer. With laser, cuts or engravings can be directly made, and can put direct images on the fabric or can be used to assist in the formation of stencils for the actual printing on t-shirts. Laser technology is becoming in demand in this niche thanks to its ultra-fine cuttings and superior accuracy compared to traditional methods. This tech refers to two methods for turning a digital file into a t-shirt design:
1. Laser Engraving: Imprinting of designs using laser beams to engrave a picture directly onto fabrics.
2. Laser Cutting for Heat Transfers: Lasers trim vinyl or another heat transfer material that is later used on the t-shirts with heat to make a print impression on the shirt.
Now that you know the two common techniques, below is how do you turn a digital file into t-shirt using a laser cutter and engraver:
1. The first step is making the digital design, and we recommend browsing Pinterest, Tumblr, etc. to get some inspiration first. Next, create your design file with the help of graphic design tools from common tools like Adobe Illustrator and Corel Draw. Make sure your design is not thin and overcomplicated for easier printing.
2. When you are done with the design, load and save it in a format that is compatible with your laser engraving machine; most of the time it will be either.svg or.dxf. These extensions are designed to make sure that the file dimensions and the settings on the engraver reflect the size and details of the shirt.
3. This one is crucial: choosing a shirt fabric that will work with laser beams. The most commonly used materials are cotton and polyester, but there are other materials often used in dress shirts. Ensure the fabric used does not stick, bend, or melt when subjected to heat or laser cutting techniques. Stick to natural fabrics for best results; cotton or cotton-polyester gives the best results.
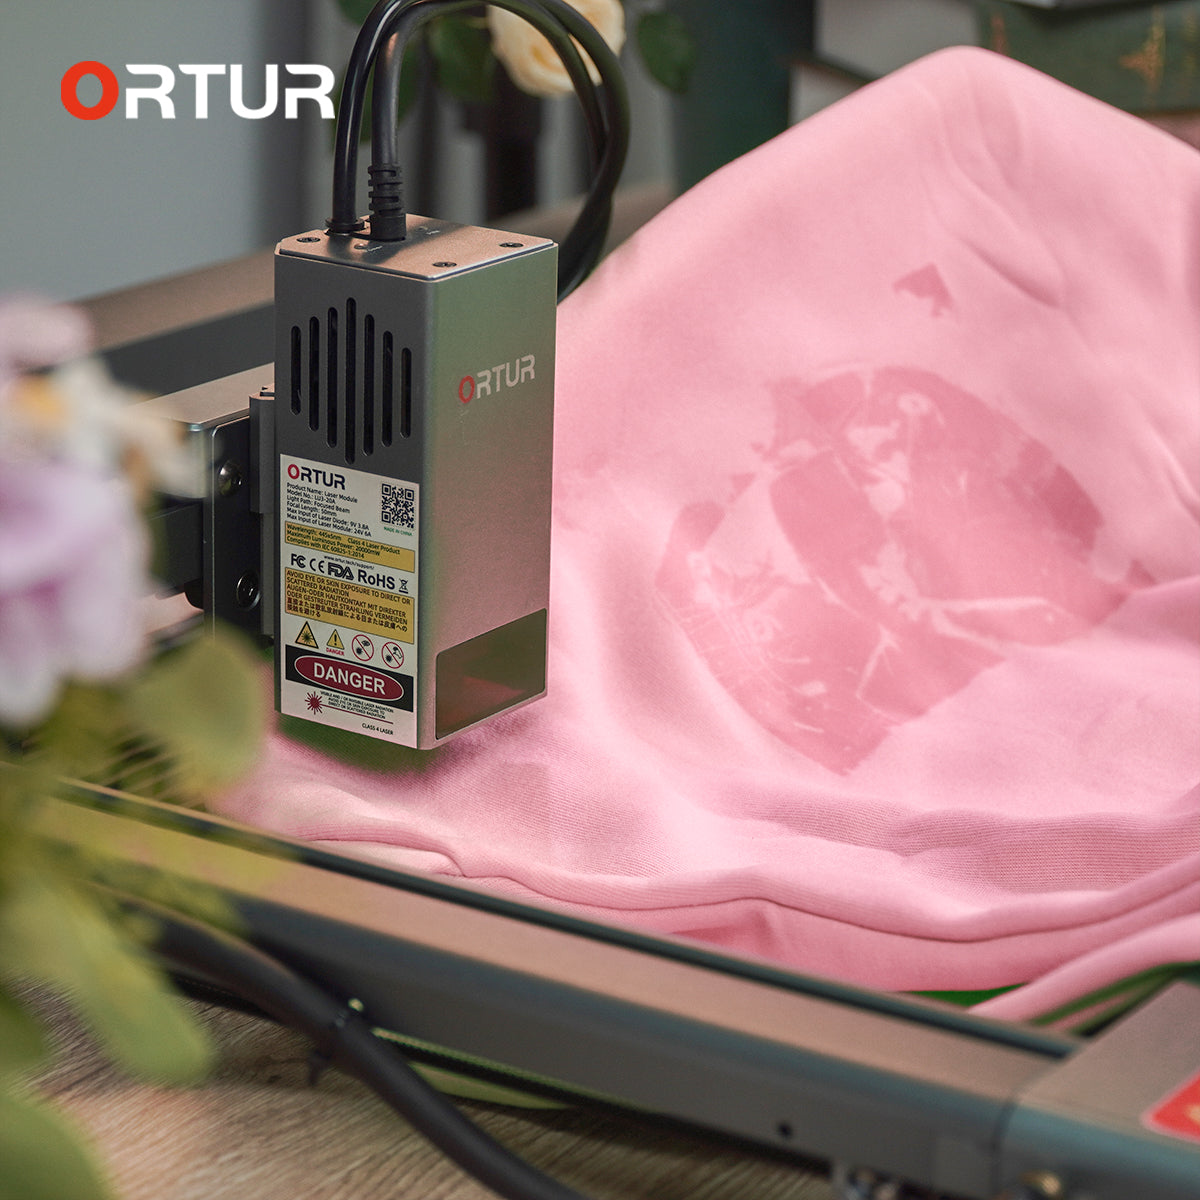
4. Check that the laser engraver is compatible with engraving on fabrics and that you have set the correct power and speed of the laser engraving machine. Every material behaves uniquely, so it is important to pre-apply settings on sample material and not the t-shirt that one intends to produce. We advise doing thorough research according to the fabric you have. Once you are sure, start the engraving process by smoothly placing the shirt on the laser bed.
5. If you are laser engraving a heat-transfer vinyl to print your design with the second technique mentioned above, we highly recommend first adjusting the laser settings according to this vinyl surface so that the laser only cuts cleanly through the material and there is no burning or melting of the edges.
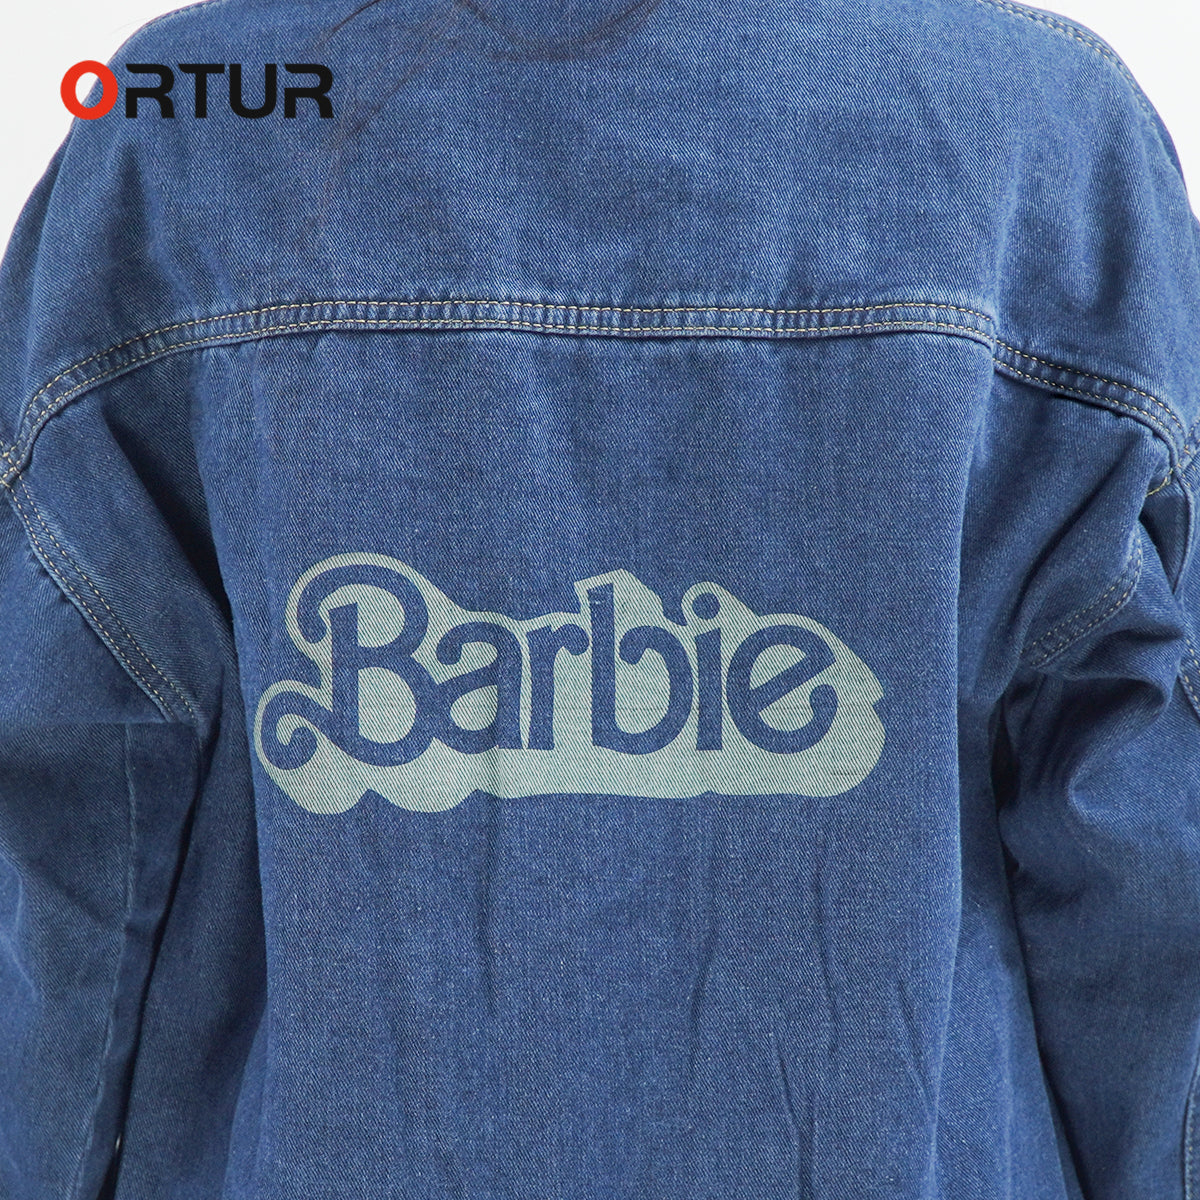
6. Once done, examine the t-shirt for any possible defects, cut off any threads hanging around, and other small problems. Such problems can be minimized by using a laser engraver/cutter that is fabric-compatible hardware and the next generation of future pack technology, that is the Ortur H10 laser cutter. With a 0.01mm ultra-high accuracy and a comprehensive air assist system, this hardware makes sure that you get smooth cuts on fabrics and also comes with its own set of software, the Inspiraesth, which makes the process of designing and engraving any digital file of t-shirt design much easier.
Common Mistakes & Tips/Tricks
Now you have a generalized idea of how do you turn a digital file into t-shirt by using a capable and compatible laser cutter and engraver. Even if you are well equipped with hardware and knowledge, below are the most common mistakes to avoid:
1. Thin fabrics, for instance, silk and rayon, are easily damaged, while other thick fabrics, such as denim, might need a high-power laser. Choose a laser cutter that matches such fabrics or ask the OEM directly.
2. Don’t rush with high speeds when engraving such designs; it will result in damage to the fabric.
3. Always do a trial engrave on spare fabric to fine-tune your settings; most people do it on their expensive fabric, and rookies waste it on the first trial.
4. In heat-pressing vinyl designs, ensure that you use heat-resistant tape to hold your design properly. This helps to prevent situations when the design distorts when heat is being applied.
5. Make sure that you iron the t-shirt first to make it flat before anything else!