A Comprehensive 2024 Guide to
How to Cut Plexiglass with Laser
Learn how to cut plexiglass by using a laser cutter and engraver in our comprehensive guide to plexiglass crafts and DIY projects for the year 2024.
- Introduction
- Why Use Laser Cutters with Plexiglass
- How to Cut Plexiglass with Laser Cutters?
- Cutting Plexiglass with Laser Cutter
Introduction
You might not know this, but plexiglass is another name for acrylic and is now highly popular among the DIYers and craft industry. Plexiglass is a thermoplastic material that can be molded, shaped, and cut without any cracks in it. It is also extremely lightweight, quite strong, and comes in many colors and finishes, which makes it highly suitable for crafting in this era.
Here in this full guide below, you are going to learn how to cut plexiglass with a laser cutter and engraver and how it can be engraved for crafts, along with our tips and tricks.
Why Use Laser Cutters with Plexiglass?
But there is a catch; cutting and molding plexiglass can sometimes be inaccurate and challenging too, but with laser cutters and engravers, acrylic crafting becomes a breeze. Compared to manual tools, laser cutting provides a high degree of accuracy, which is almost unattainable with outcome-handling means or machines. This happens due to the heat generated by the laser that causes the acrylic to melt and hence sets a smooth edge that may not need further finishing.

How to cut Plexiglass with Laser Cutters?
Before you start doing that, you need:
1. Laser Cutter/Engraver
The type of laser hardware and how capable it is will directly affect the results. They come in different types and power ratings, and the one you will need will depend on your project’s size and design complexity. For most cases, you can go with diode and CO2 laser cutters, with a power range of 10W to 150 watts, which will cover the most common thickness cutting of plexiglass, typically up to 1/2 inch.
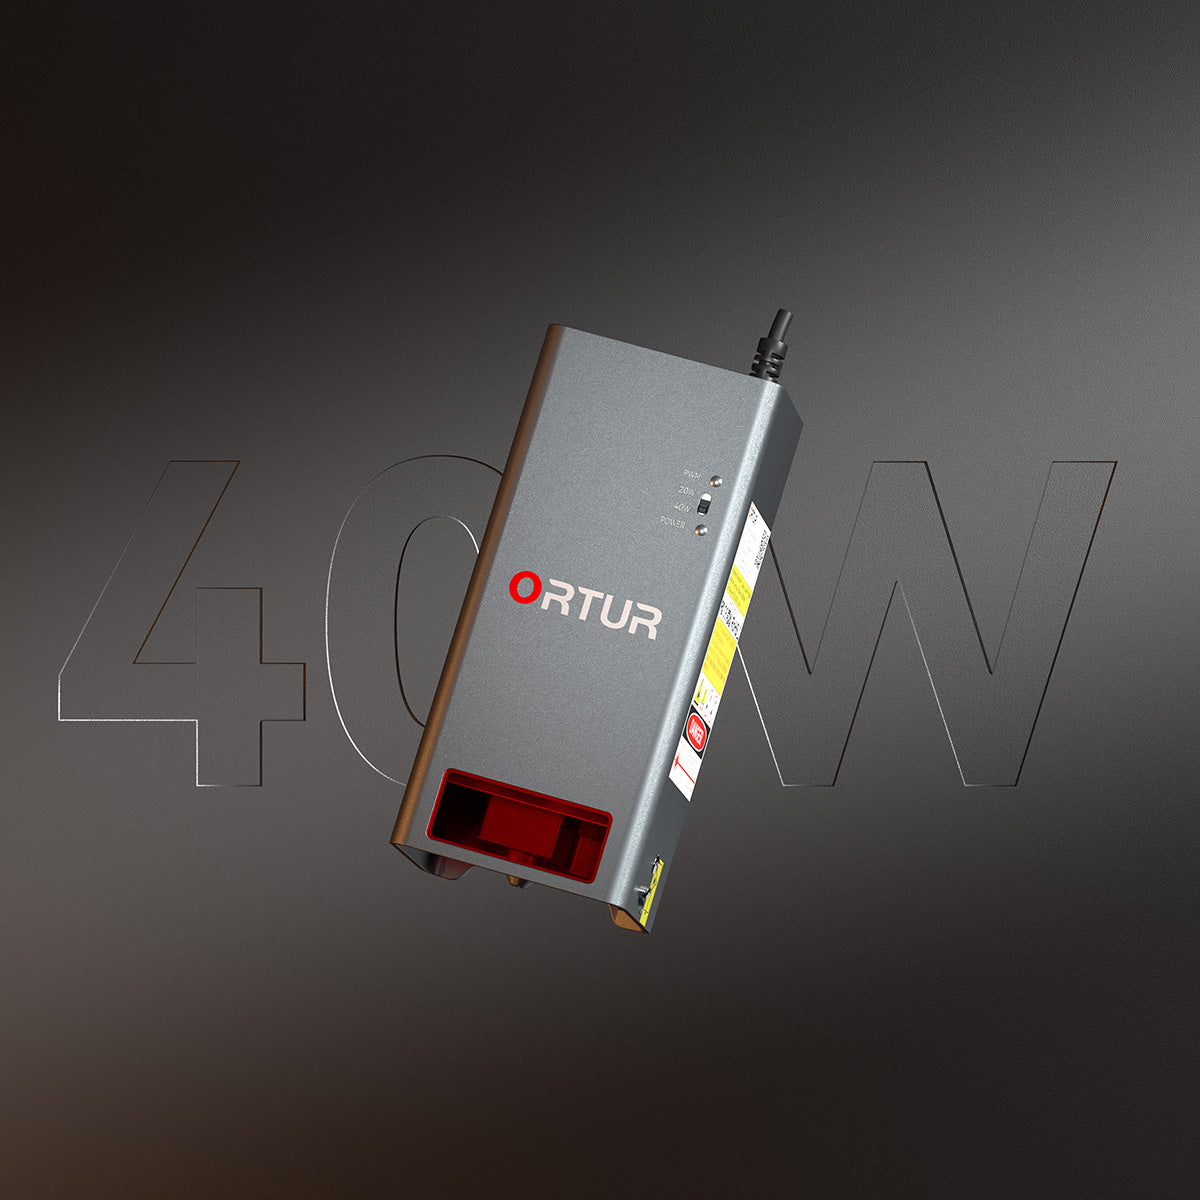
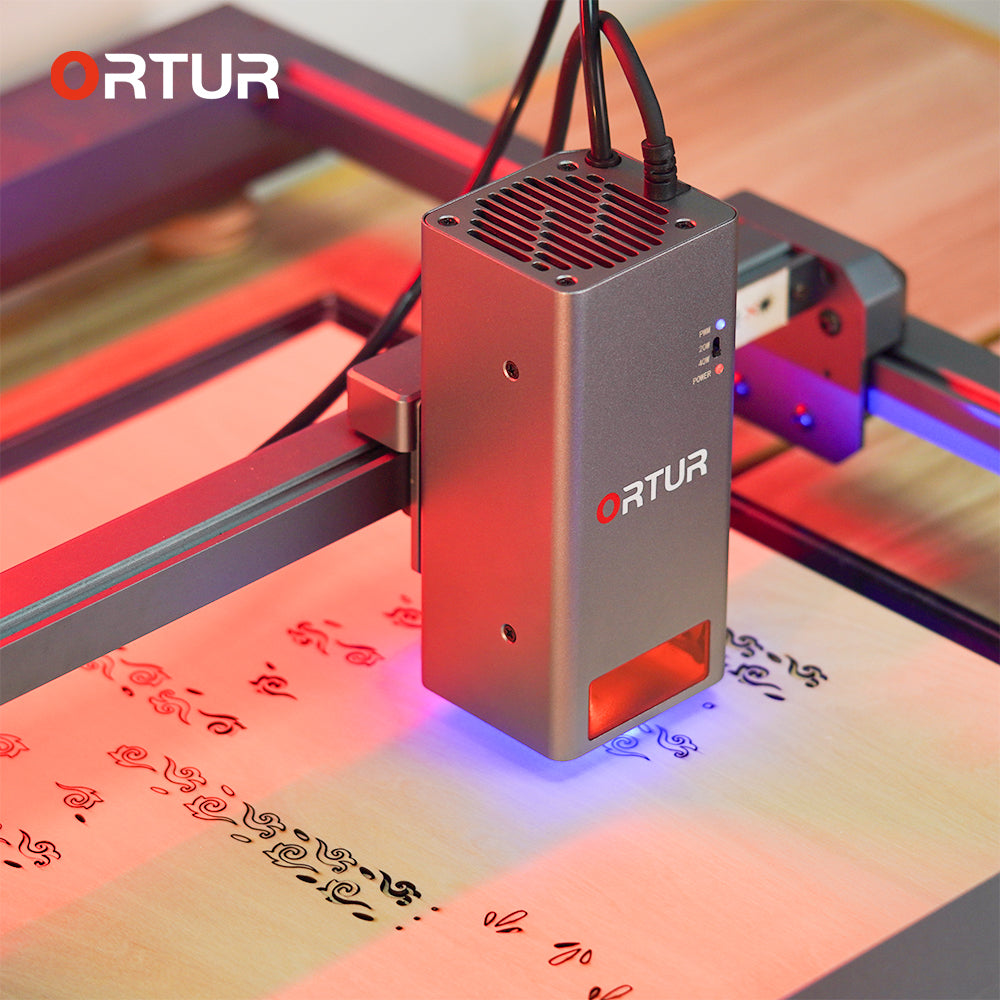
Ortur’s LM3 laser cutter is designed to be a perfect choice for beginners and small business owners with its 20-watt laser module with an array of four 5-watt lasers. This setup ensures you get smooth cuts of plexiglass without needing multiple passes. A capable air assist system, high ventilation, air-guided blinds, and high accuracy make it a great choice for most of your DIY plexiglass projects.
2. Plexiglass/acrylic sheets
They come in a variety of thicknesses, colors, and finishes. For most DIY craft projects, one will do for a hobby or small business, we recommend going for sheets between 1/8 inch and 1/4 inch thick. If you are using a laser cutter with a 10 to 20-watt power rating, the sheets to select are between 1/16 inch (higher speed works here) and 1/8 inch (lower speeds are needed). Do remember that thicker sheets require more powerful lasers to cut through efficiently, so do proper research once you know the thickness of the sheets you are working with.
3. Design software
Your OEM laser cutter must give you compatibility with design software like Adobe Illustrator, Inkscape, or LightBurn. This software allows you to design or import images into them to craft a design for your plexiglass and then can be converted into files compatible with your laser cutter. Ortur LM3 comes with Inspiraesth, a fully optimized software for acrylic DIY projects, and is extremely easy to use thanks to its intuitive interface.
4. Protective Gear & Trial Sheet
Even though the latest generation of laser cutting machines is generally considered to be safe, it is still always recommended to wear protective goggles during the cutting of plexiglass or any other surface. Also, maintain a well-ventilated work environment. Also, before starting to cut, we always recommend first laser cutting on a spare sheet as a trial to avoid any loss of the primary plexiglass sheet of your DIY project.
Cutting Plexiglass with Laser Cutter
Now that everything is in place, below is how to cut plexiglass with laser cutters to get proper results:
Step 1. The first step is to clean by washing or scrubbing with a soft cloth the surface of the plexiglass and ensure it is free from dust, fingerprints, and any debris.
Step 2. Import your design into your design software compatible with a laser cutter. Make sure that it covers the right area of the sheet so that it may easily fit into the correct dimensions. For first-timers, it is recommended that they start with simple patterns such as circular patterns, square patterns, or simple ornaments before going for the complicated patterns.
Step 3. Check your settings on the hardware; the settings of the laser cutter will be based on the thickness of the plexiglass as well as the power of the laser being used. For example, a 20-watt laser cutter for cutting a 1/16-inch sheet can take just one pass with a 100-watt power setting at a speed of 5–15 mm/s. Your results may vary depending on your hardware and sheet thickness.
Step 4: When everything is checked, run the cutting process and note if the acrylic glazing is exposed to excessive heat. This can melt the edges, so keep that in check.
Step 5: Once done, let it cool and avoid over-touching it when freshly cut to avoid damage to the edges.
So now you know how to cut plexiglass using a laser cutter, and to avoid mistakes when selecting the sheet of this material, we always recommend starting with simple projects and selecting capable laser hardware to get the best results, like the Ortur LM3.