Guide 2024: How to Reverse a Depth
Design for Laser Engraving
Learn how to reverse a depth design for laser engraving projects and get professional-looking results by following our tips and tricks.
- Introduction
- Common Mistakes and Tips
- Conclusion
Introduction
Using laser engraving for carving out difficult designs and personalized fonts on different surfaces has now become quite a new standard in the entire industry. Although more and more people are incorporating this tech into the DIY niche, one hard thing to do is execute depth engraving, which is in high demand nowadays. That is why the online query of “how to reverse a depth design for laser engraving” is trending on SERP engines.
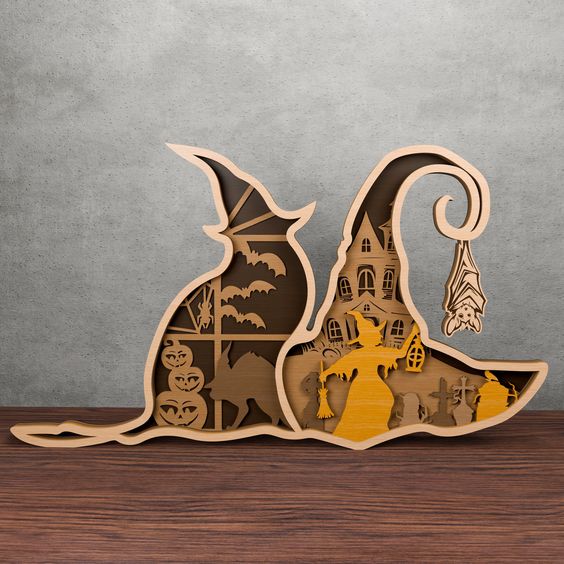
In this technique, an outline of a design (also known as a positive) is used which is cut into the existing material, so it appears as if the design is raised from the surface. The same old laser engraving technique is required to give the right depth to the image and to make sure the cuts are properly made.

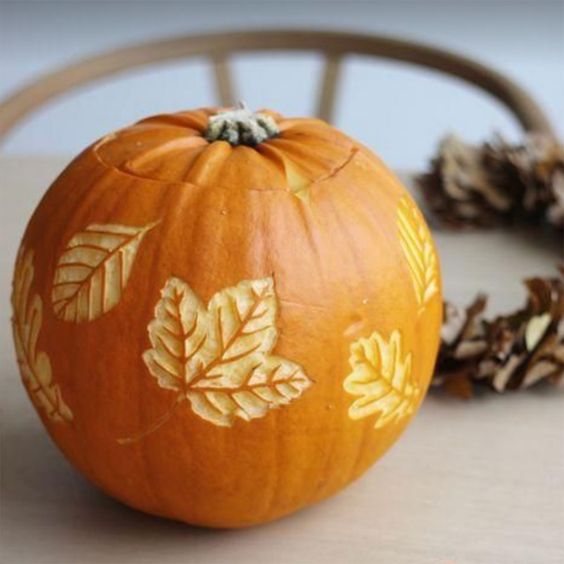
It is basically, next-generation sculpturing with laser tech and commonly uses Wood, acrylic, stone, and certain metals. Materials like slate, granite, and high-density woods are known to produce excellent reverse-depth engravings. Although it sounds cool and awesome executing is quite a task. Below is how to reverse a depth design for laser engraving of a certain material:
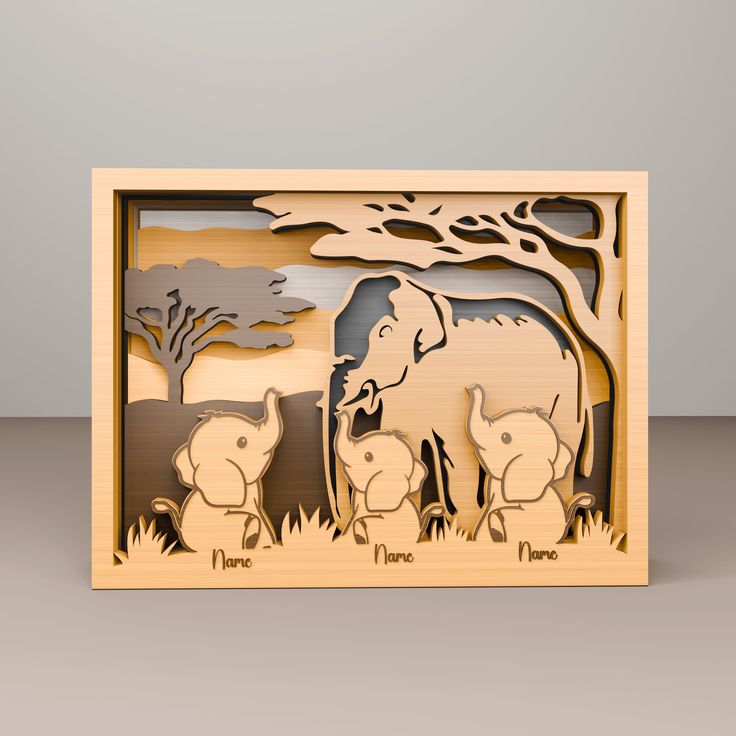
1. Create or Download a Design: All created designs are not appropriate candidates for reverse depth engraving that is why making your one and finding one is the way to move forward here. Out of all designs such as those with strong outline hem and few internal elements work best for reverse engraving. Geometry, logos, and occasionally typographical designs fall into this category.
2.Background/selecting a Design:
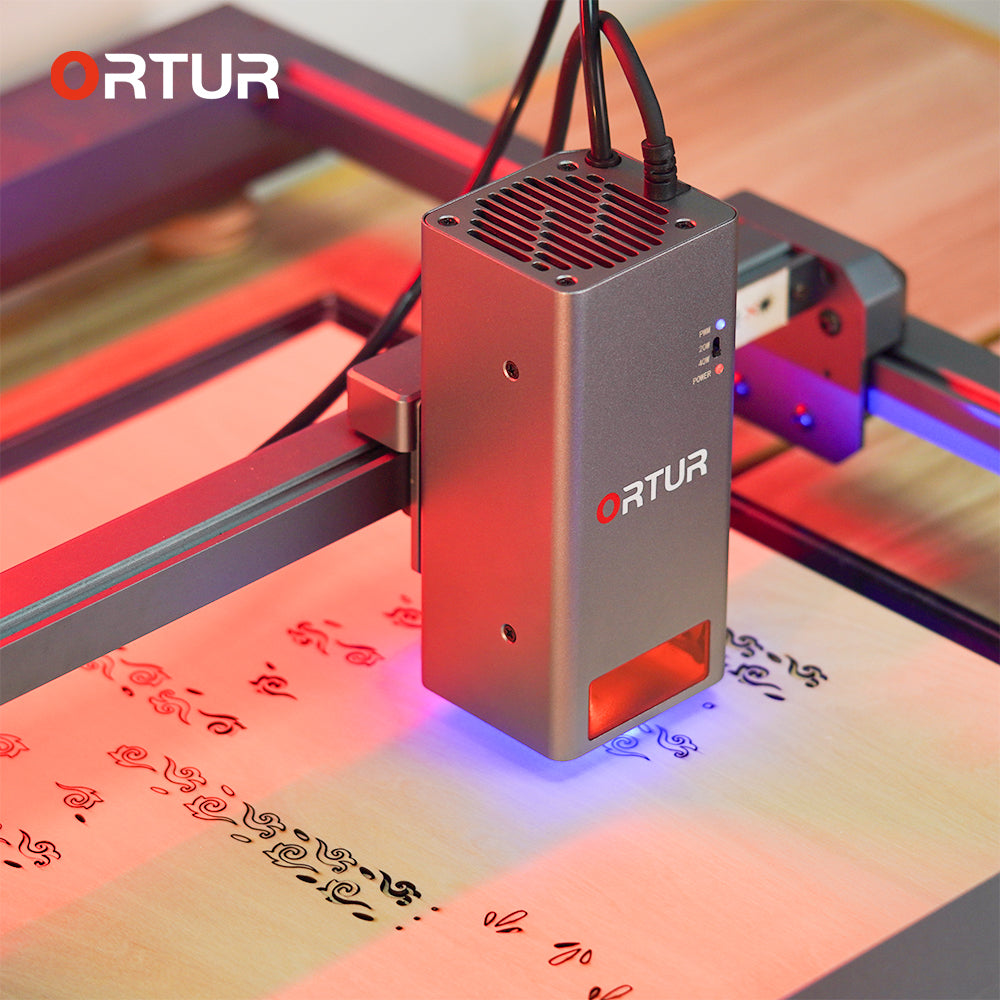
Common software like Adobe Illustrator and CorelDRAW are very good helpers to make the design ready for application, but sometimes laser hardware won’t be optimized for such software. Ortur LM3 comes with its software package, which is optimized for newcomers and offers tons of control when it comes to projects using techniques like reverse engraving.
Having said that, once you have a proper design imported in the design/laser engraver software, just find the option of invert or negative function in the software to easily switch the depth.
3. Parameters of Laser Cutter:
This is important as these parameters are set according to the materials you are using for this engraving technique. That is, each material reacts differently to laser power and speed settings. You have to research this one according to your larger hardware and the material you are using.
For example, if you are using stones as your base material, you will require high power settings combined with low speed on your laser module which will be typically set to 80-100% max power and 10-30% max speed.
4. Execution of Reverse Engraving:
The rest of the process is pretty standard engraving process except that you have to use
raster engraving technique which is the most effective technique for reverse depth designs. In this technique, the laser moves back and forth over the material, removing the background and leaving the design untouched as vectorized in the original design file (remember the mask carving scenes from Mission Impossible - Ghost Protocol?).
Well, this is now exactly like that sci-fi laser cutting, but you get the picture. Once done, use compressed air or soft clothes to remove any debris. If you are using wood, go with a sanding block that can also be useful for polishing the raised design edges. Also, use a clear coat for wood (wax for stone surface) to enhance the durability of the engraving, which is especially important when it comes to making such items for e-commerce platforms.
Common Mistakes and Tips
Now that we have laid down the basics to answer the trending query of how to reverse a depth design for laser engraving, DIY-ers still make errors in these DIY projects, which results in bad results, and we recommend keeping in check these three common mistakes:
1. Most people get bad results because they don’t focus on the contrast of their design. Make sure that the engraved background and the raised design have sufficient contrast, which can be improved by staining or painting the engraved areas. Moreover, always use vector files or high-resolution artwork for the best results.
2. Use multiple depth layers in your design, this will add complexity and execution time but the results will be pleasing.
3. Always use reliable laser hardware for such expensive projects, and for that, we recommend going with the Ortur H10 laser cutter and engraver with an industry-leading 0.01mm accuracy and a 20-watt super accurate laser module, all coupled with a next-generation safety system, perfect for reverse engraving projects. Moreover, you also get OEM’s provided software Inspiraesth, which is optimized for such projects and is extremely user-friendly for beginners.
Conclusion
Reverse engraving requires quite some knowledge of material and laser engraving techniques to get desirable results. Also, capable hardware and a design file with proper vectorial design are required. Contrast of the design also plays an important role in clear engravings.