This is How to Etch Pumpkin with
Laser Cutter for Halloween
You won’t etch pumpkin every other day, nor is it a common thing to do. But if you were looking to do so, then read our detailed guide on how to do so.
- Introduction
- Things to Consider Before Pumpkin Etching
- Steps to Laser Etch Pumpkin
- Common Issues with Laser Etching of Pumpkin
- Wrapping Up
Introduction
Etching generally refers to a technique where the top layer of a surface is removed to give it an engraved look. This can be done with the help of acids, lasers, or any sharp tool to incise shallow engravings on a surface. Engraving, on the other hand, uses deep carving on the surface to create more obvious designs.
While etching and engraving on a pumpkin can be done with traditional tools like blades and special knives, the laser etch pumpkin process has its advantages as laser hardware can do a fantastic job of giving your shiny plumped pumpkins the look they deserve during Halloween. This tech can make more detailed designs on pumpkins, is much more time efficient, and reduces mess as compared to manual etching.
Things to Consider Before Pumpkin Etching
1. Choose a pumpkin with a fairly flat side that is large enough to hold your laser engraving.
2. Create your image to be engraved in a graphic program or you can get one from Pinterest with the theme of Halloween.
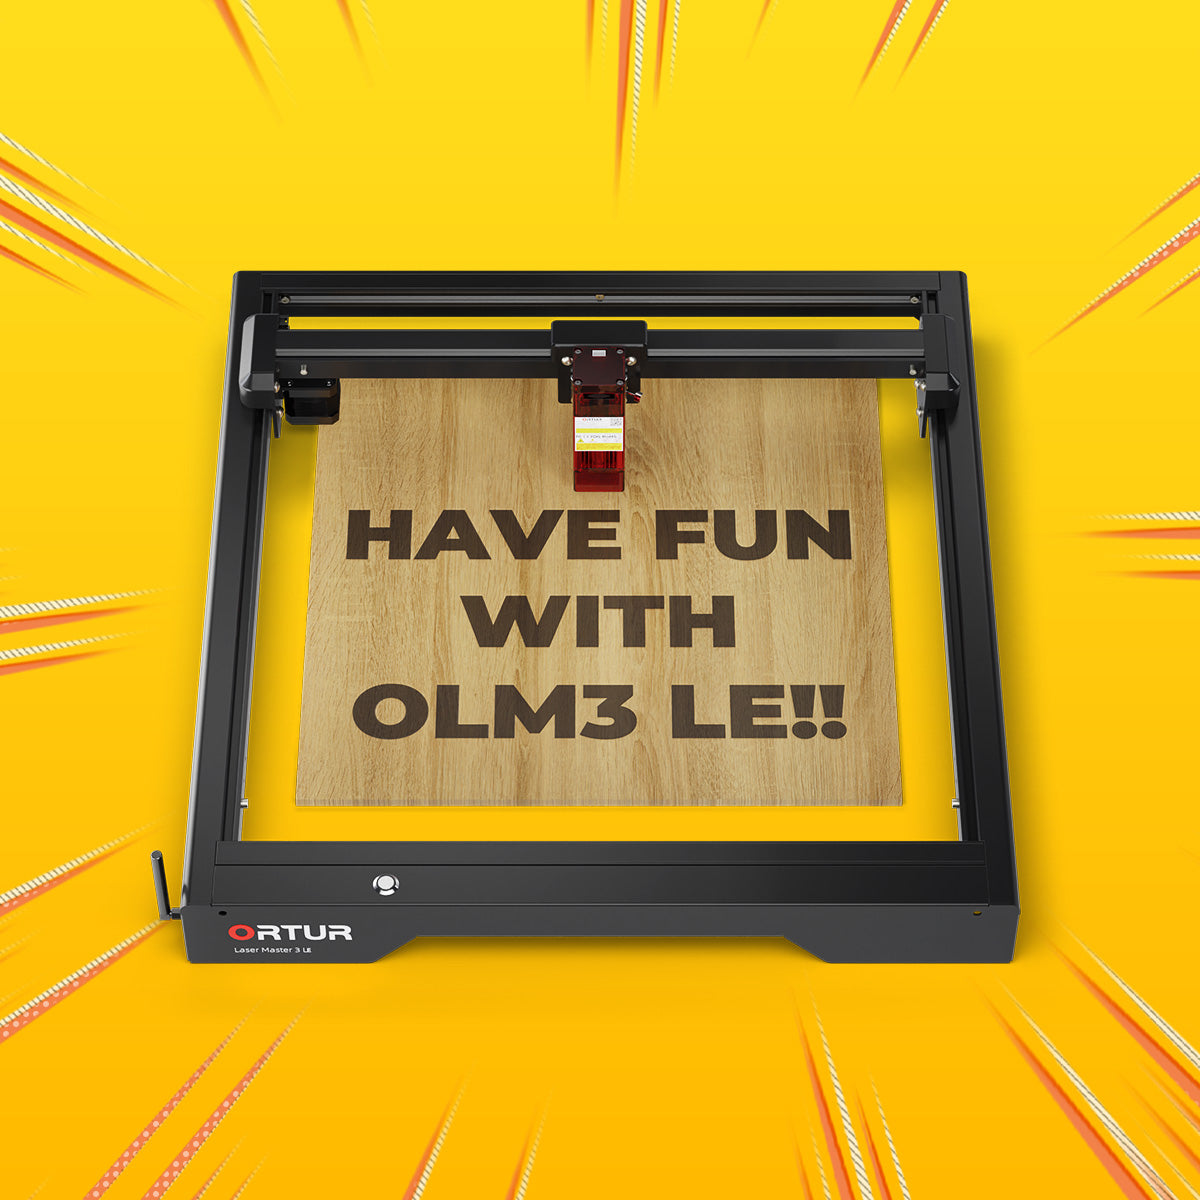
3. Always select a laser engraver that works with pumpkin skin for engraving. We recommend the Ortur LM3 laser engraver and cutter due to its ultra-precise laser module compatible with surfaces like that of pumpkin and also packs an integrated air assist safety system for safe operation.
4. Select a pumpkin that has minimal blemishes, scratches, or dents.
5. Always run a trial attempt on a small or inconspicuous area of the pumpkin, just to ensure that the settings of your laser engraver are proper for pumpkin etching.

Steps to Laser Etch Pumpkin
1. First, import your design to be etched in the design software of your laser engraver (Inspiraesth in the case of LM3), and make sure to have its contrast on the higher side with more than 350 ppi values. As it is for Halloween, go for lace, spider webs, or mandalas for a more similar vibe.
2. Carefully place the prepared pumpkin on the laser cutter bed, check the settings and size parameters, and adjust the power and laser speed. As the pumpkin skin is not that hard, it won’t require very high-power settings.
3. Once you are done tweaking settings, do a trial etch on a small area of pumpkin and then execute the main etching where desired.
4. Once the design is all etched, carefully remove your pumpkin and clean any residue with the help of a soft brush. You can also easily seal this laser etching with the help of ordinary petroleum jelly to help keep the edges from drying out or rotting too quickly
5. Grab a battery-operated LED light and place it inside this pumpkin to give it a nice illumination which will give a more authentic Halloween look. You can also go with a traditional candle but it can be a little tricky to handle.
Common Issues with Laser Etching of Pumpkin
1. Most people end up with blurry or fuzzy etching results which can be corrected by re-calibrating the laser module and adjusting power settings.
2. The etched design is not even which is commonly due to the pumpkin being not properly placed on the laser bed. Make sure that it is securely placed and doesn’t move during the etching process.
3. The final design sometimes is not that visible since it is etching not engraving. Increasing power settings or passing it twice can give a deeper cut while making the final impression of the design more obvious.
Wrapping Up
Before we conclude our guide on how to etch pumpkin for Halloween, it should be noted that the results of the etching directly depend on how well you know your laser cutting and engraving hardware and secondly, how good your laser cutter is with such tasks. Ortur LM3 is an excellent choice for etching pumpkins and many other surfaces thanks to its capable hardware specs including 0.08*0.08mm square spot accuracy which works great on pumpkin skin, powerful COS Packaging Technology with four laser beams, and a dual fan system coupled with air guided blinds for extreme efficiently and safety.