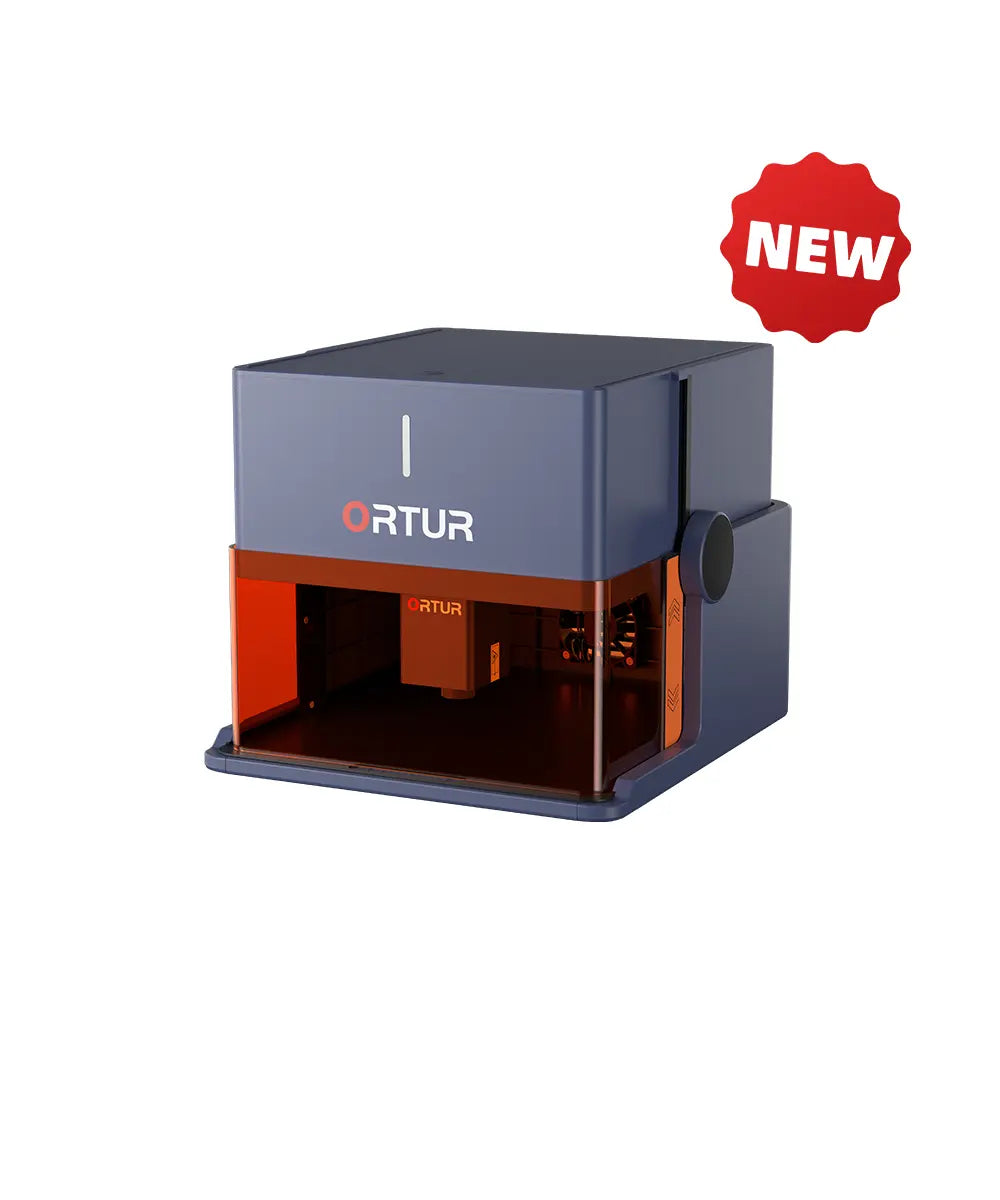
ORTUR R1 Laser Engraver Indicator Lights Guide: Easy-to-understand "Machine Language"
The indicator lights on the ORTUR R1 Laser Engraver serve as the device’s "visual status indicators" — they clearly convey the machine’s operational state: normal operation, WiFi connection progress, or the presence of minor malfunctions. Once you grasp the "operating principles" of these indicators, operating the Laser Engraver becomes straightforward, regardless of whether you are a novice or an experienced user. Let’s decode the functionality of these lights by first explaining their core operating principles, followed by a breakdown by color.
First, Master the "Core Operating Principles" of the Indicator Lights
The indicator lights of the ORTUR R1 Laser Engraver adhere to a key principle: color denotes the priority level of the status, while light behavior indicates the specific operational state. Different colors correspond to distinct scenarios, and they follow a clear priority hierarchy — analogous to addressing emergencies first before handling routine tasks.
◾ Highest Priority:
Red Light
Signifies "critical anomalies", such as equipment faults or abnormal voltage. Immediate attention is required.
◾ Medium Priority:
Yellow Light
Indicates "in-progress operations", such as WiFi connection, system updates, or operational pauses. Monitoring of the process is necessary.
◾ Basic Priority:
White Light
Represents "normal operational states", such as power-on, engraving, or standby mode. These are the machine’s routine operating conditions.
◾ Special Cases:
Mixed-Color Lights (White+Yellow, Red+Yellow)
Composed of two colors, these indicate special operations requiring manual intervention, such as specialized WiFi configuration or failed system updates.
When multiple states occur simultaneously, the higher-priority color overrides the lower-priority one. For instance, if the safety lid is opened during engraving (yellow light active, indicating a pause) and a motor malfunction occurs (red light active) at the same time, the red light will take precedence — prompting you to resolve the fault first.
Color-by-color Breakdown: The Meaning of Each Light
Red Light: Critical Anomalies — Resolve Immediately!
When the red light is activated, the ORTUR R1 Laser Engraver has encountered a fault requiring immediate resolution. The machine will cease operation to prevent hazards or further damage.
| Light Behavior | Corresponding Status | Potential Causes & Troubleshooting |
|---|---|---|
| Rapid Flashing | Emergency Stop Activation | Accidental depression of the emergency stop button is likely. Inspect and release the button to restore functionality. |
| Steady Illumination | System Error / Voltage Irregularity | 1. Power off the device, disconnect the 24V power adapter (standard for the ORTUR R1), wait briefly, then reconnect the adapter and power on the machine. 2. If the red light remains steady, verify power supply stability or contact the brand’s customer support. |
| Short Flashes + Long Flash | Motor Drive Malfunction | 1. Power off the machine and inspect the laser head’s travel rail for obstructions. 2. Ensure the motor’s connecting cables are securely plugged in. Disconnect and reconnect the cables, then power on the machine again. |
White Light: Normal Operation — Operate with Confidence!
The white light functions as the Laser Engraver’s "routine status indicator." When illuminated, the machine is in normal operation or standby mode — no special intervention is required.
| Light Behavior | Corresponding Status | Potential Causes & Troubleshooting |
|---|---|---|
| Steady Illumination | RUN Mode (Active Engraving) | The machine is executing engraving per the programmed pattern. Do not open the safety lid or touch the laser head arbitrarily. |
| Gradual Brightening | Normal Power-On Sequence | Press and hold the power button for a short while. The machine is initializing; wait until the light remains steady before operation. |
| Gradual Dimming | Normal Power-Off Sequence | Press and hold the power button for a short while. The machine is shutting down; wait until the light extinguishes before disconnecting the power supply. |
| Breathing Effect | IDLE Sleep Mode | After a period of inactivity, the machine enters energy-saving mode. Tap the power button to wake it up. |
| Heartbeat-like Slow Flashing | WiFi Connection in Progress | After pressing the power button five times in quick succession, the machine is scanning for nearby WiFi networks. Complete the configuration via the mobile application. |
| Pulsing | Successful USB Connection | Upon inserting the USB cable, the machine has recognized external devices (e.g., USB flash drives, computers). Engraving files can now be transferred. |
Yellow Light: In-Progress Operations — Monitor the Process!
When the yellow light is activated, the ORTUR R1 Laser Engraver is performing an "intermediate operation" (e.g., WiFi connection, system update, or calibration). Simply wait for the process to complete or assist with basic steps as needed.
| Light Behavior | Corresponding Status | Potential Causes & Troubleshooting |
|---|---|---|
| Steady Illumination | Homing Mode (Position Calibration) | The machine initiates this automatically upon power-on. The laser head moves to the "reference origin" for calibration. Wait until the light extinguishes before starting engraving. |
| Steady Illumination | Hold Mode (Pause on Lid Opening) | When the safety lid was opened during engraving — the machine pauses automatically. Close the safety lid, then press the "Resume" button on the control interface to continue engraving. |
| Breathing Effect | System Update in Progress | After pressing and holding the power button + tapping the RESET button, the machine is undergoing a system update. Do not interrupt the power supply. Wait until the light extinguishes and the machine reboots to complete the process. |
| Breathing Effect | Safety Lid Open | The safety lid was opened to load or unload materials. Close the safety lid to extinguish the light. |
Mixed-Color Lights: Special Scenarios — Follow Step-by-Step Procedures!
When two colors are displayed simultaneously, the Laser Engraver requires manual intervention for special operations.
Follow the steps below to resolve:
| Light Combination | Light Behavior | Corresponding Status | Step-by-Step Procedures |
|---|---|---|---|
| White + Yellow | Heartbeat-like Slow Flashing | AP WiFi Configuration Mode | 1. Press the power button three times in quick succession, then press it once more upon hearing a "beep." The machine will generate its own WiFi hotspot. 2. Connect your mobile device to the hotspot (SSID contains "R1_AP"). 3. Enter your WiFi password in the application. The light will extinguish once configuration is complete. |
| Red + Yellow | Alternating Flashing | Update Failure | 1. Power off the machine and disconnect the USB flash drive/SD card used for the update. Verify the integrity of the update file (must be an official firmware package). 2. Reinsert the update media, press and hold the RESET button to reset the device, then retry the update. 3. If repeated failures occur, contact customer support to obtain the correct update file. |
Summary: 3 Simple Tips for "Decoding" Indicator Lights Stress-Free
Prioritize by Color
Address red light issues first, wait for yellow light processes to complete, operate freely when the white light is active, and follow procedures for mixed-color lights.
Interpret by Behavior
"Steady illumination" typically indicates a "stable state" (e.g., engraving, standby); "flashing" usually signifies an "in-progress operation" (e.g., WiFi connection, system update).
Refer to the Tables for Troubleshooting
Match "color → light behavior" in the tables above to find solutions. There is no need to contact customer support immediately.
The indicator lights on the ORTUR R1 Laser Engraver act as a "simplified operational manual." Once you familiarize yourself with these principles, you can easily "decode" the machine’s status — streamlining your engraving workflow and enabling the creation of high-quality works!


