Laser DIY 101: How to
Make a Laser Engraving File
Learn our DIY guide for how to make a laser engraving file and optimize it so that you can get professional results when doing your creative work with that lovely laser engraving hardware you have.
Laser engraving technology has managed to largely replace the old traditional techniques being used in the DIY industry by 2024. That happened because of two reasons: consistent results in less time and high accuracy with the safe operation. With the rise of laser technology, the skill of creating laser engraving digital files is in trend as people are now more interested in designing their creative style rather than buying overpriced crafts; thus, many people search for how to make a laser engraving file that gives the best results.
Below is our 101 guide on the basics of this niche, software options, and how to make a laser engraving file, to get the best results if you are just starting with laser cutters and engravers:
- Software options
- Common Formats
- How to Make a Laser Engraving File
- Tips for Best Results
Software options
CorelDRAW: Surely one of the most popular software used for laser engraving thanks to its feature-rich and time-proven functionalities for various crafting projects. The software is beginner-friendly and offers options for professionals as well.
Adobe Illustrator: It is one of the most beloved applications for making vector designs; it offers optimally fine tools for making complicated art pieces. Nearly all laser cutters and engravers are compatible with files generated by AI.
Inkscape: For those who are willing to have free software to use, Inkscape can perform many of the functions that Illustrator and CorelDRAW do and work with most of the laser engraving devices.
Inspiraesth: A capable software that comes with Ortur laser cutters and engravers that are optimized for creating DIY designs in the most common formats and are super user-friendly for newbies.
2. Common Formats
When it comes to laser engraving files, there are two types of files (not to confuse with formats); one is vector files and the other is raster images. Vector files are made up of digital paths inside the image. This allows for clean and scalable designs that are more practical when editing these files. This ability makes them perfect for line art, logos, and simple shapes.
The second type is raster files, which are made up of pixels and are best suited for detailed images, like photos. But such need to be processed carefully, as they can easily get pixelated when engraved. Now you know the basics, below are the most commonly used file formats for laser engraving:
SVG: Scalable Vector Graphics file format is the most commonly used one for vector designs when it comes to laser engraving and cutters. With .svg laser engraving file, the quality of the picture doesn’t change with the size of the image, which makes it very useful in this industry.
PDF: Portable Document Format is similar to other commonly used file formats, and can accommodate vector as well as raster information, which makes it very useful in the laser engraving process.
DXF: Drawing Exchange Format is more suitable for CAD drawings and is commonly used when architectural or mechanical images are used in laser engraving.
AI: Adobe Illustrator file formats are very common, as many laser engravers can directly utilize Illustrator files, which makes the design and production process very convenient.
3. How to Make a Laser Engraving File
a. First set the canvas size, which should be the same as the size of the material that is to be engraved in your laser bed. For instance, if you are engraving a wooden piece with dimensions of 10X10”, then your design canvas of the laser engraving file should also have dimensions of 10X10”
b. Next, convert the text in your design into outlines by first rasterizing it and turning the text into outlines. This makes sure that the laser engraver deals with text as an object.
c. Most lasering devices understand colors within the design file as directions to the depth of engravings to be done on the substrate. For instance, the red line can be interpreted as a particular surface area that has to be laser cut, and the back can signal engraving instead of cutting. Always check the color-coding settings on your laser cutter.
4. Tips for Best Results
One of the most common mistakes with such files is that newbies use the wrong laser settings, i.e., they may set high power or speed, resulting in burns or misaligned cuts. It’s best to start with lower settings and gradually adjust them until you achieve the desired effect.
We always recommend starting with trial engravings and cutting on scrap material to avoid any damage to prime surfaces to be cut/engraved. Thin lines in such design files may not be engraved properly, while overly thick lines can significantly lose detail in final prints. Find a middle point according to your laser settings. If you have text in the design, consider inserting proper spacing so that the final result is not crowded.
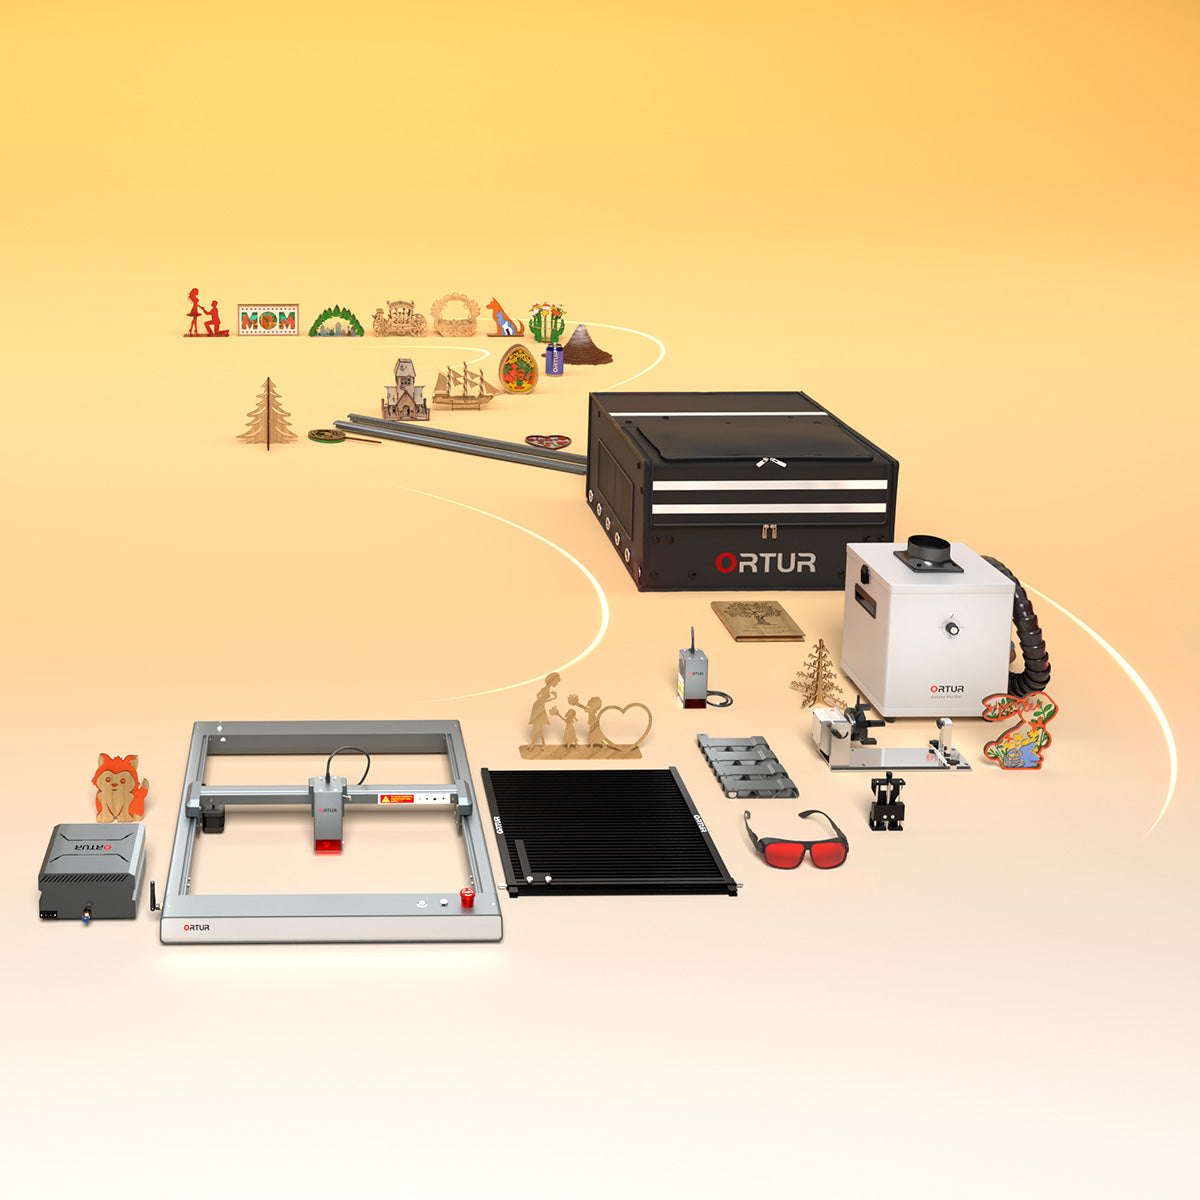
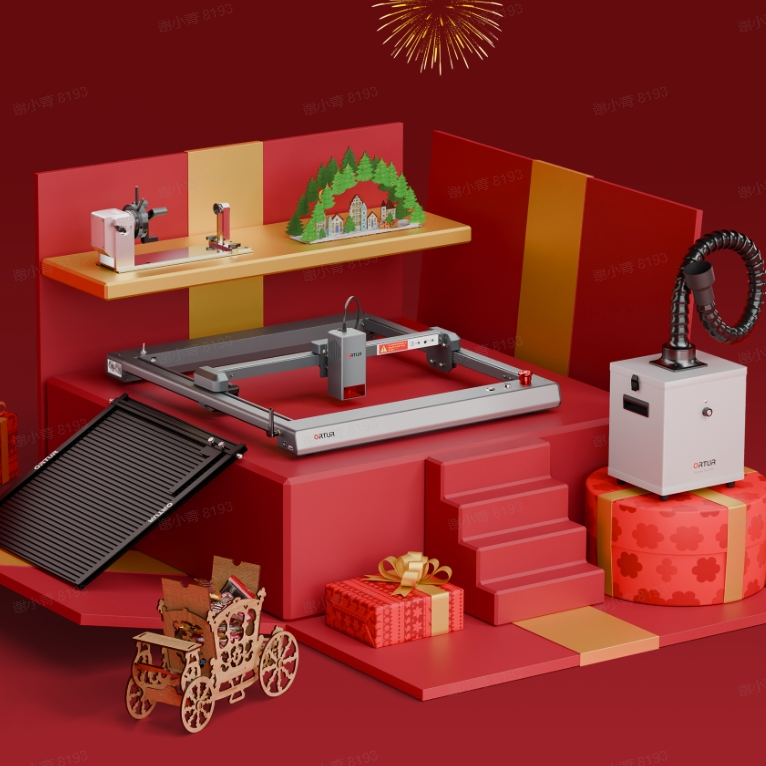
Ortur’s LM3 laser cutter and engraver offers compatibility with a wide range of such files, is feature-packed, and offers a reliable laser cutting experience. Its Inspiraesth software is easy to use and offers high compatibility with all the most common file formats of laser engraving files. Plus, you also get the next generation of laser engraving modules with 0.01 mm accuracy and a wide range of accessories to expand the possibilities of your creative works.


