How to Make Stickers Look
Professional with Laser Cutters?
Searching for how to make stickers look professional when using laser-powered gear? If yes, then read our take on this topic, along with the most common mistakes by DIY lovers.
- Stickers are always Cool!
- Conclusion
Stickers are always Cool!
Not only because they have been your childhood hobby to collect them, but they are also very effective in branding and customization of products. With these stickers, people nowadays create engaging and colorful designs to enhance their projects with a professional and quality look. Also, they are popular items to sell on DIY platforms as they are in demand both from hobbyists and people running private businesses.
As the competition between them is growing, people are searching for ways to make these stickers look more professional and polished. A lot of people use cutting machines to get the final cut of the sticker and remove extra paper (weeding), but it requires careful configuration of such machines to get a polished/professional cutting.
One way to attain a much appreciable level of professional look can be achieved by laser-cutting stickers as it preserves fine details and also gives smooth cutting on the sticker. But how to make stickers look professional while using such hardware, and what to take care of during the process? We explain five things to consider to get that industry-standard look:

1. Always go with Good Quality Materials
This is a no-brainer, but it is surprising to know that so many people underestimate this and compromise the professional look of a sticker by choosing a substandard paper. We recommend selecting a vinyl, paper, or polyester material that is ideal for laser cutting and getting that professional feel.
Using high-quality materials, even the mentioned ones, will deliver sticker cutting, which is free from harsh, jagged edges that are surely not appreciated by buyers. Quality materials for your stickers are extremely important, and this is, without doubt, the most important consideration of how to make stickers look professional when using laser cutters.
2. Make a Rich Design File
To get professional outcomes when making stickers, the designs of your sticky art should also be very professional. This applies to the design complexity, which should not be too much or too little. Although most of the laser cutters out there can handle fine details, very complex designs confuse the lens and result in the cutting, which is not accurate and sometimes done at the wrong positions.
Also, do not create elements in your artwork that are very small and detailed, as they will be very hard to read by your laser module. Also, use thicker outlines in the design so that the laser module can distinguish between two extreme points on the sticker.
3. Fine-Tune Laser Settings
The stickers are well paper, and they require your laser cutter to be fine-tuned to get the best results. Always check the power, speed, and frequency of your laser cutter depending on the material that you are cutting. Always begin with trial cuts, these will help you adjust all the settings to achieve a great cut that does not burn or melt the material. This is how professional sticker makers avoid the loss of their cutting materials.
4. Use Transfer Tape
Such tapes assist in keeping the stickers protected and in perfect adhesion. After weeding, use the transfer tape (common ones are paper and transparent) on your sticker, which will make it easy for you to pick only the sticker on the backing sheet and place it on the desired surface without wrinkles or bubbles forming. It is generally very small, but it makes a huge difference in the overall outcome and gives your stickers a professional final look without errors.
5. Attention to Weeding
When removing the unwanted vinyl or paper, we recommend to use precision tools such as weeding tweezers. After that, you may need to even further trim any leftover paper. This step is rather very important for a professional look. Otherwise, buyers can easily spot any miscuts and leftover debris, rating your DIY project to be a rookie’s work.
Conclusion
To conclude our take on the topic of how to make stickers look professional, we can also add here that one should also consider the presentation of your stickers. This is also quite important to get a professional look at your stickers. Moreover, you also need to invest in a reliable laser cutter if you are not using traditional cutting machines to get that final professional look.
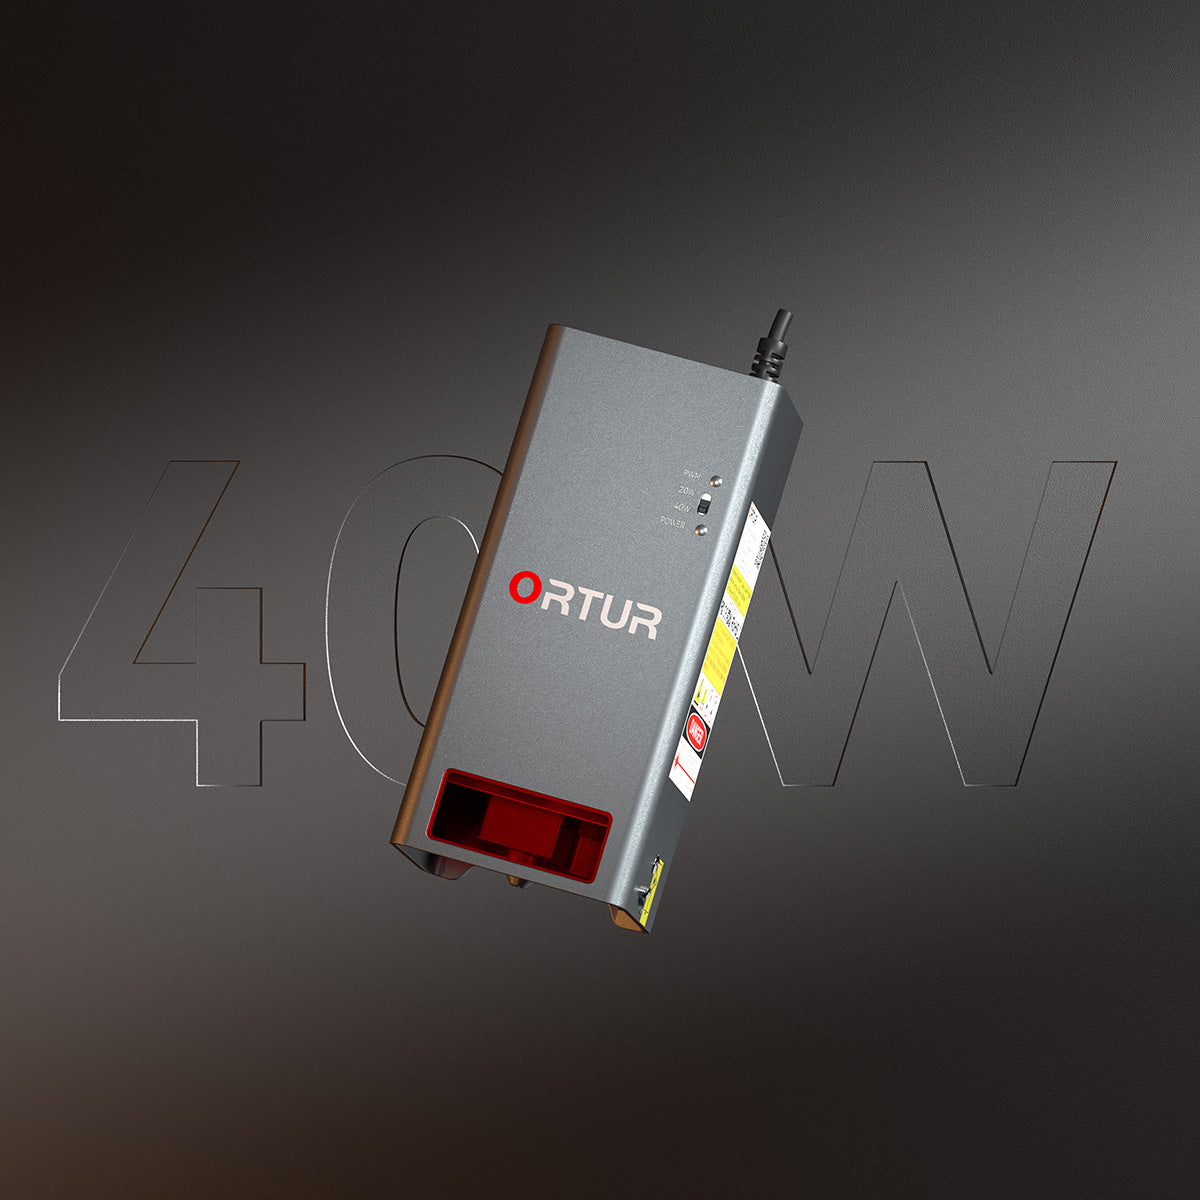
For that, we recommend the Ortur H10 laser cutter and engraver, a powerful yet easy-to-use hardware designed for such projects. It features a reliable 20-watt laser module coupled with a next-generation air assist system to make sure that your sticker projects are done safely. Moreover, you also get a creative flattened X-axis construction to achieve high stability and Ortur’s design software for a smooth DIY experience.


