
Quick Start Guide


More Support
Featured Articles
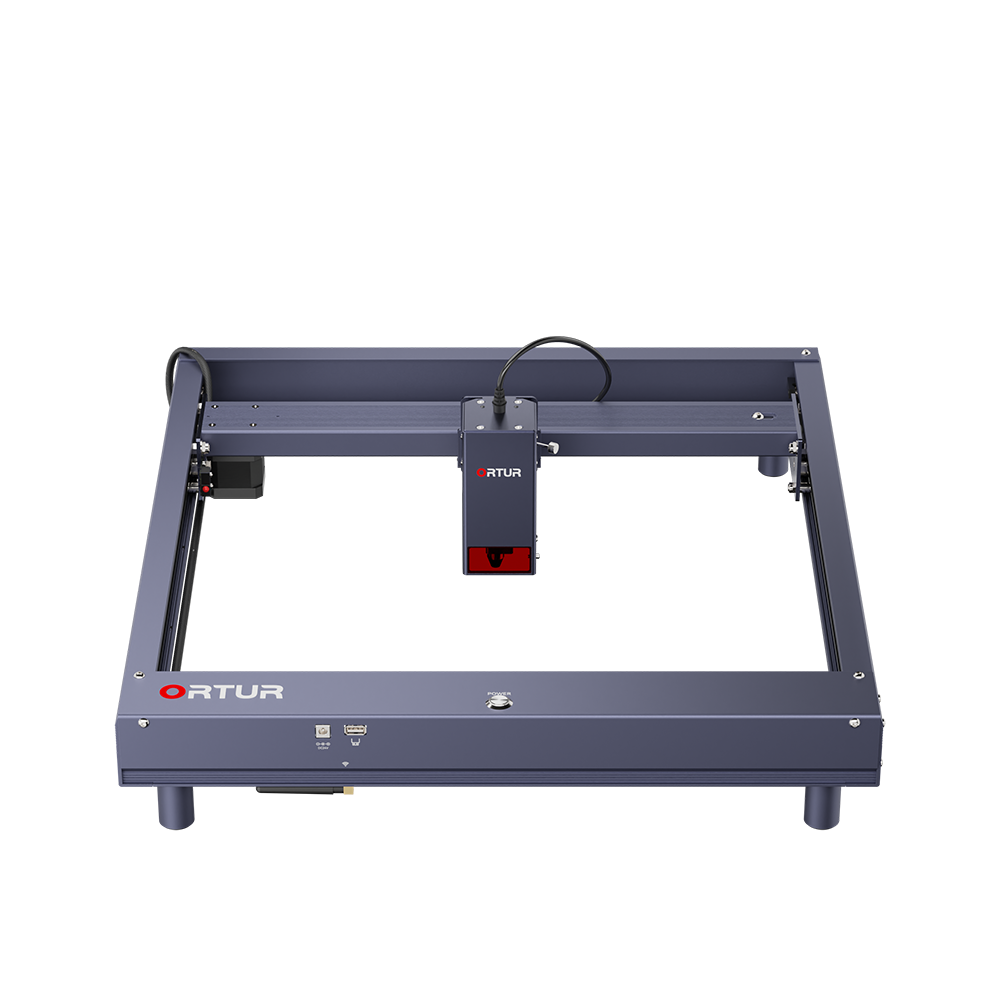
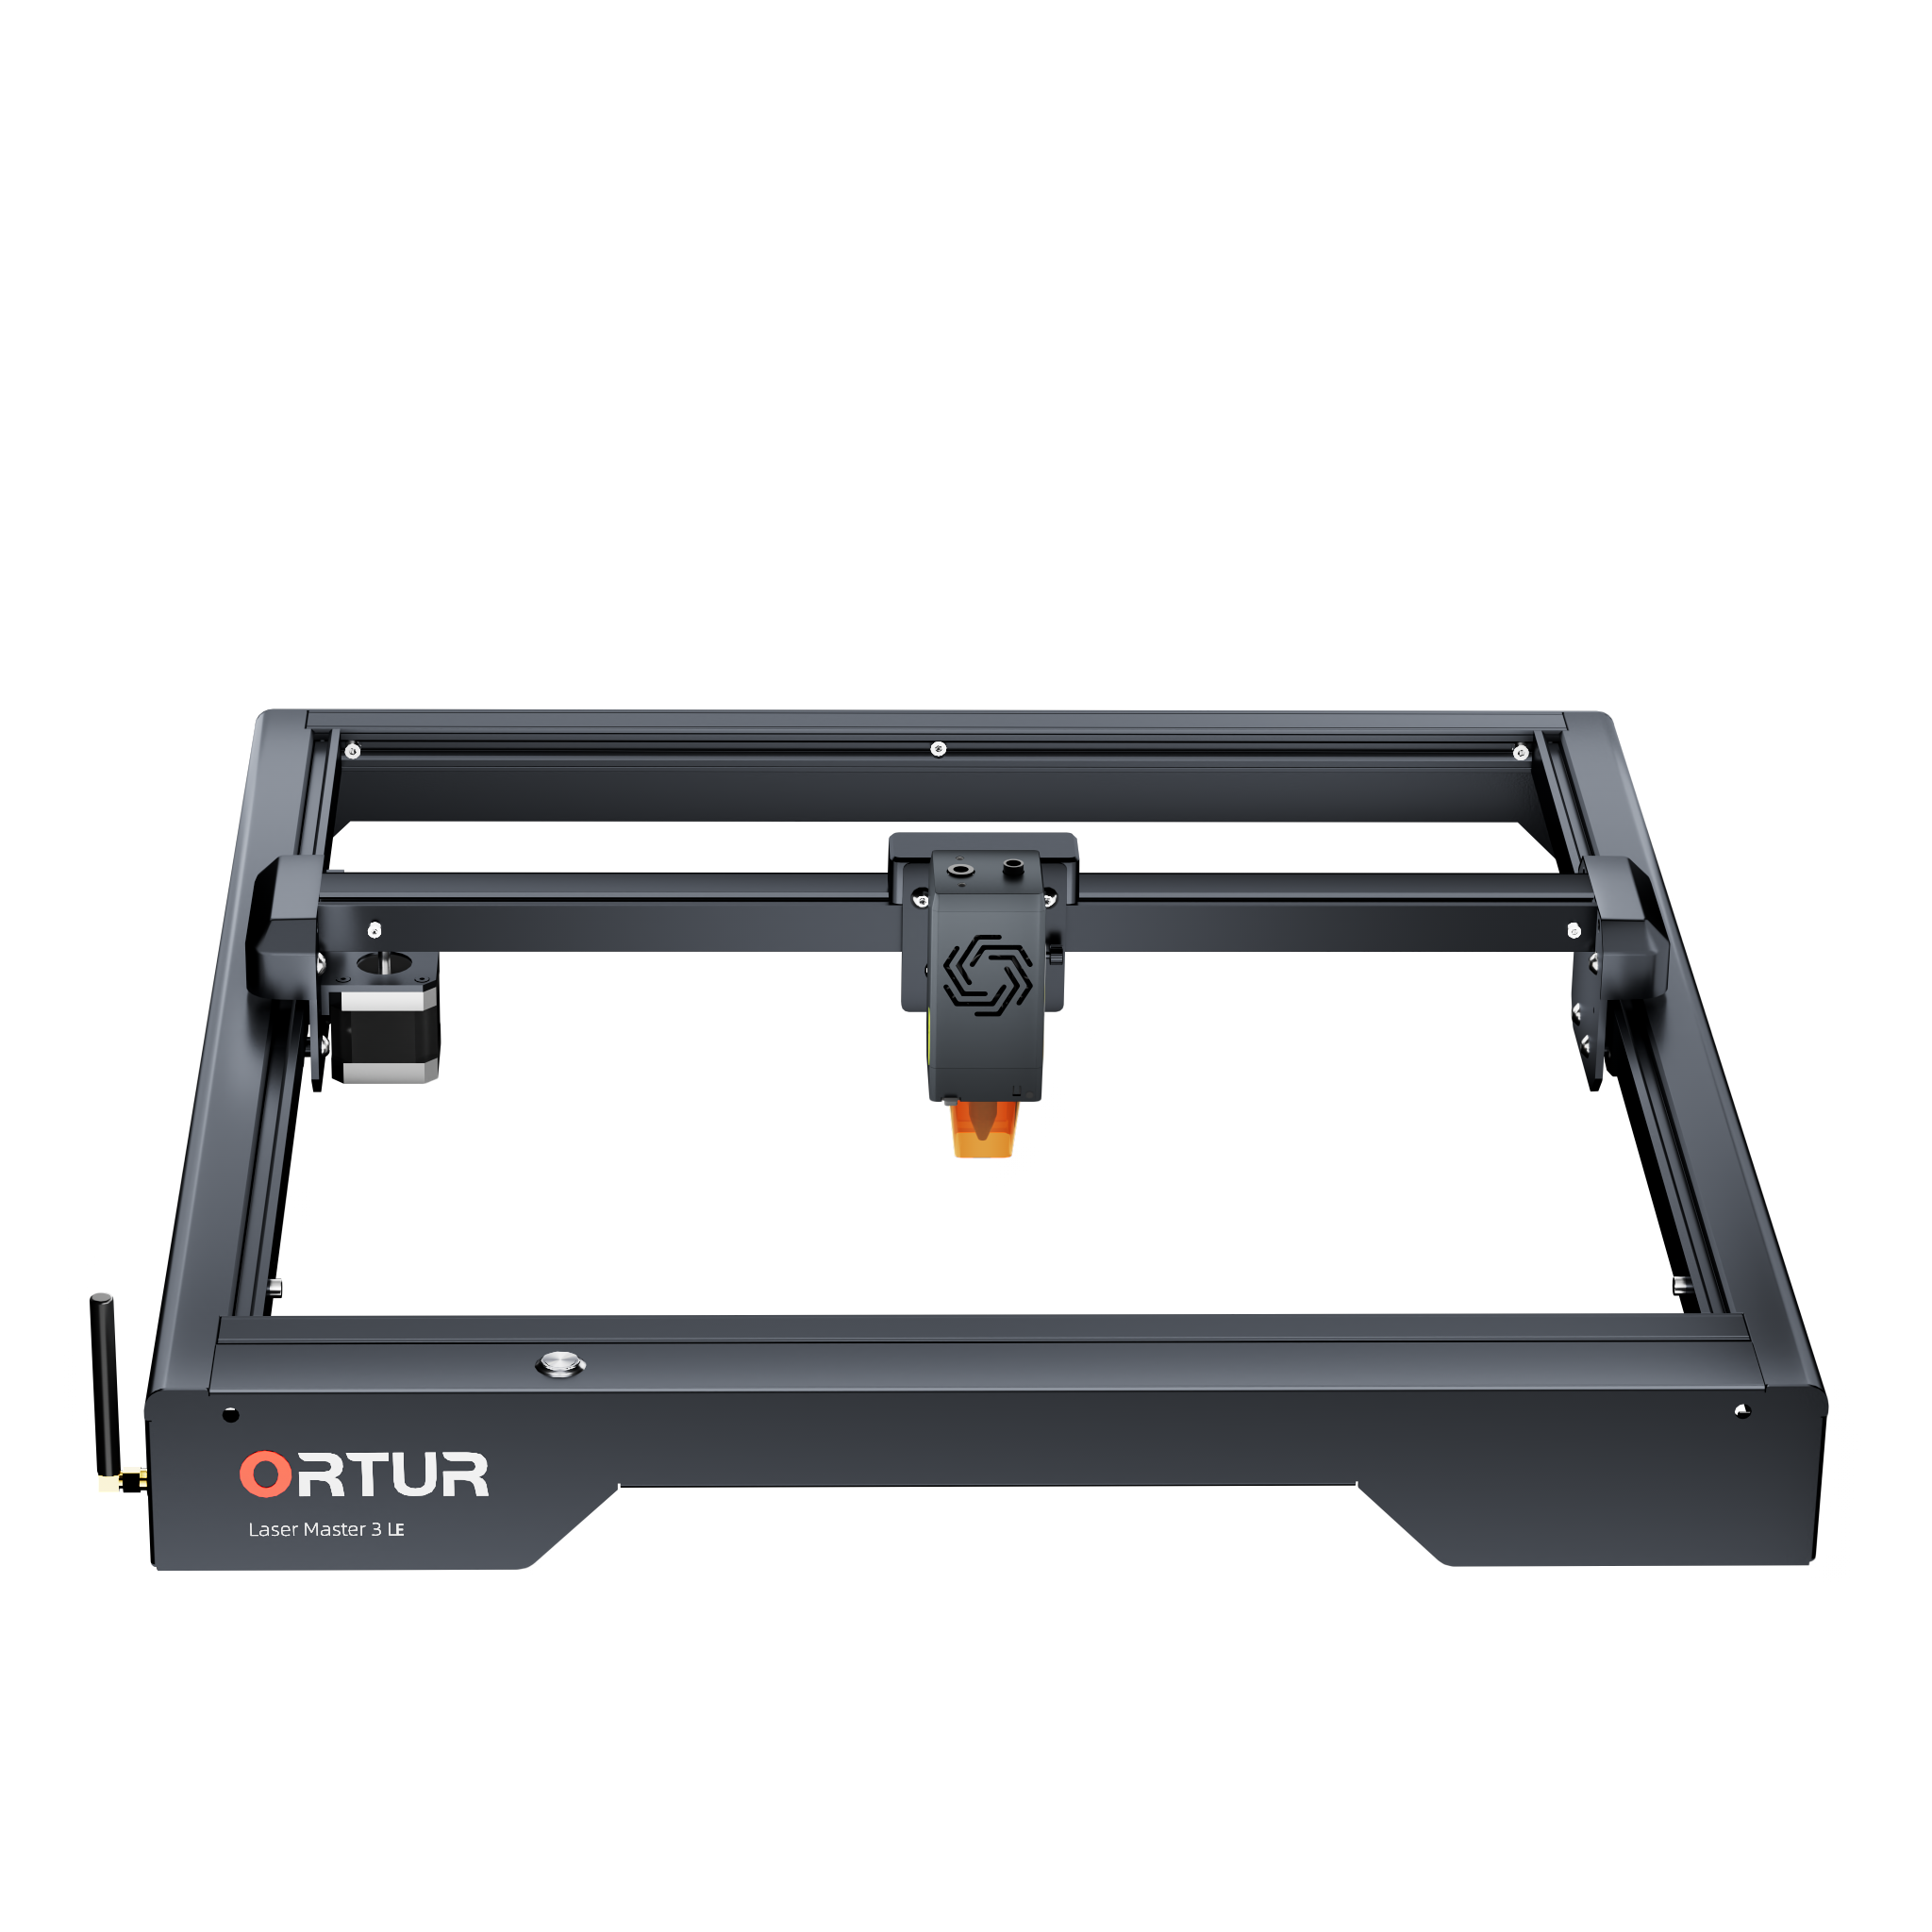
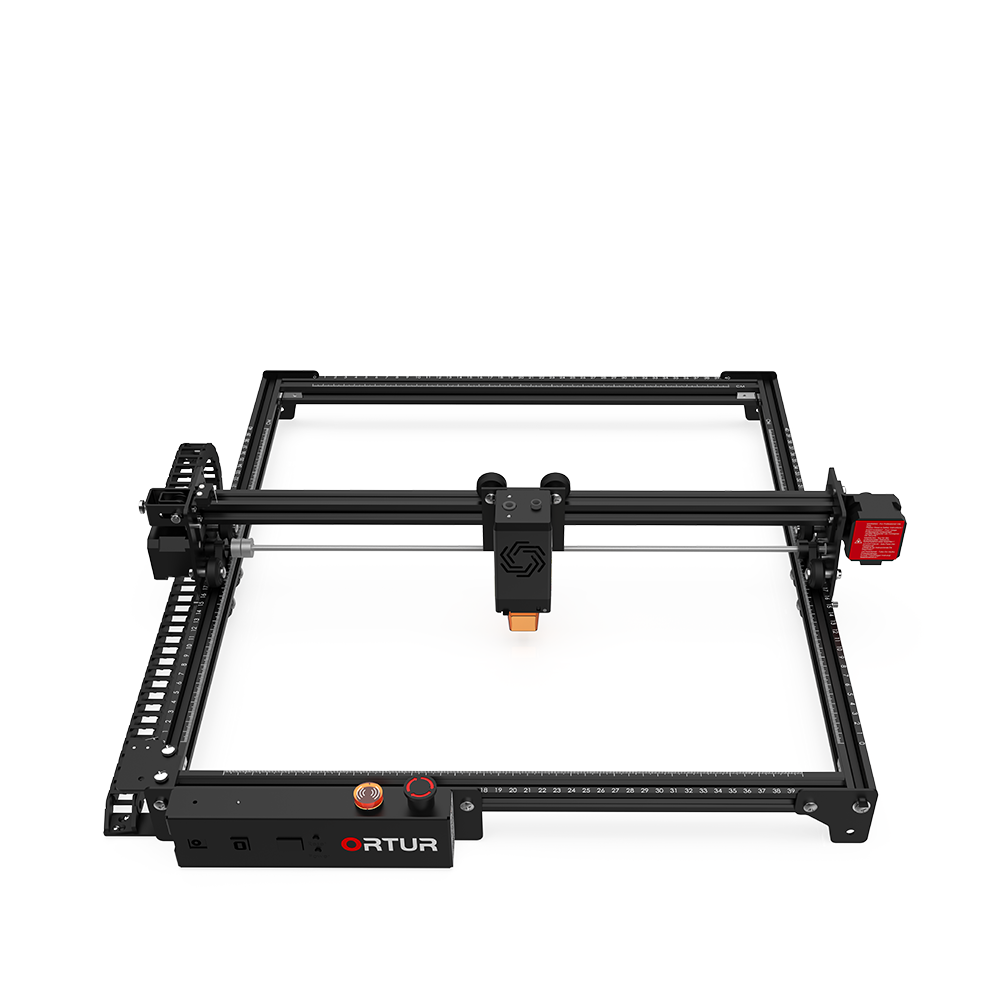
📃Ortur Laser Master 3 Review and Tests
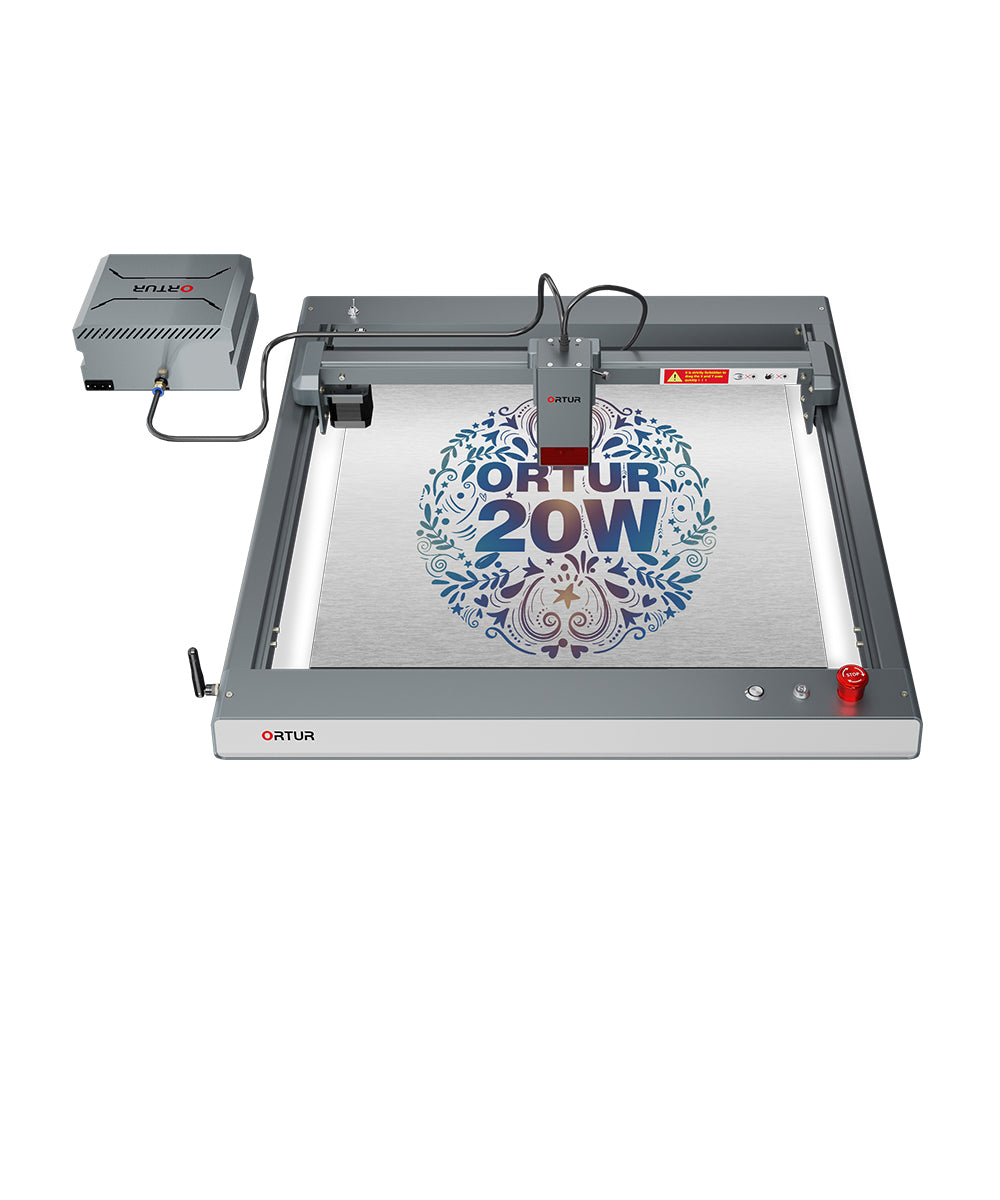
📃First-class Cutter & Multi-material EngraverOrtur Laser Master 3 20W
📃Tutorial of installing the LU3-20A Laser Module on Ortur Laser Engraver
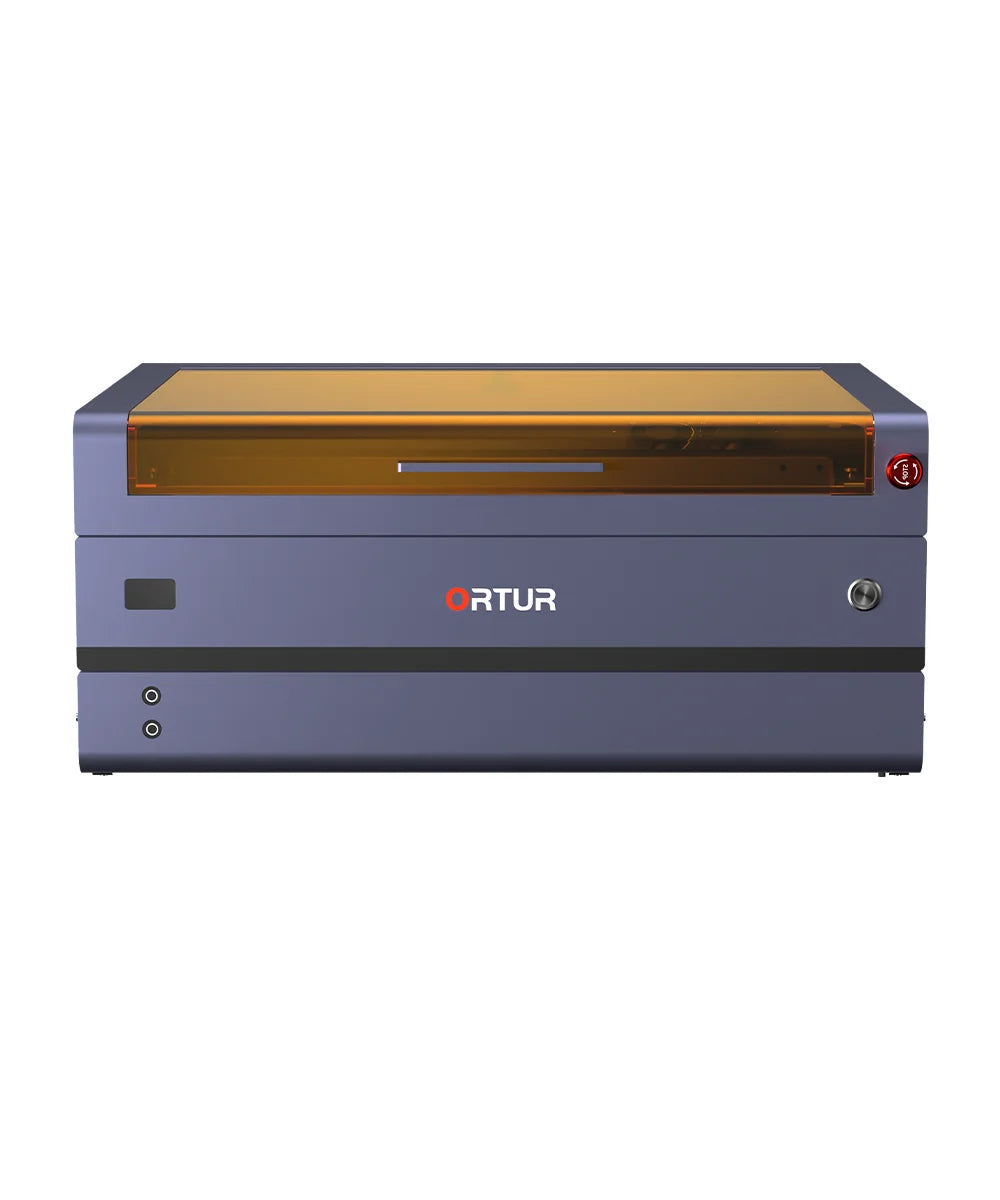
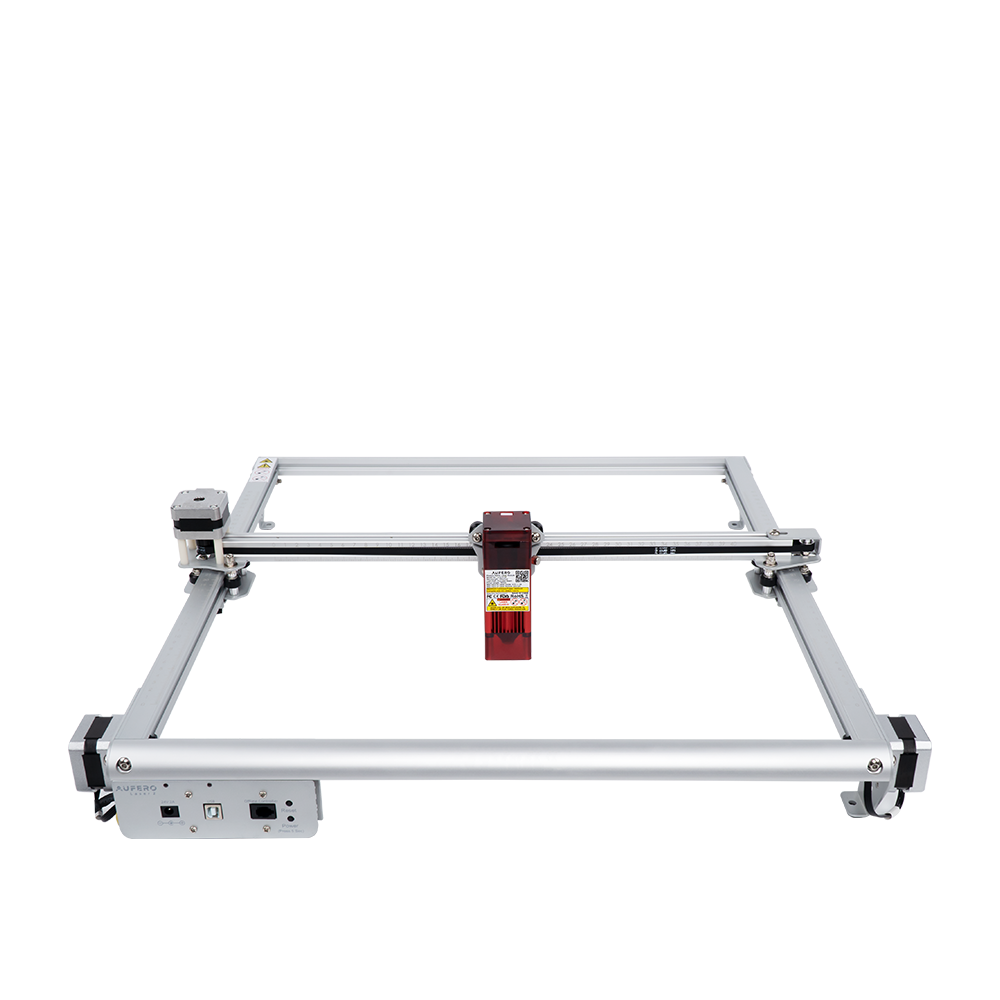
📃Ortur Laser Master H10 20W:Smart, Free-Installation Desktop Laser Engraving Machine Unveiled
Featured Videos
📺How to Install Ortur Laser Master 3 20W?
📺Tutorial of 20W Laser Module Installed on OLM3 Machine
📺Assembly Method of Four Laser Modules on Ortur Laser Master 2 Pro S2
📺Installation and Use of Ortur Y-axis Rotary Chuck
📺Using Ortur Laser Master H10 with LightBurn
📺Ortur LU2-10A Laser Module Replacement Window Mirror Guidance Video
Software Download
Inspiraesth
Apple mobile phone system requires iOS system 12.0 or above, Android mobile phone system requires Android 10.0 or above.
Inspiraesth Instruction Manual >
Tutorial