Your Guide to How to Make Jewelry to Sell Using Laser Tech
To learn how to make jewelry to sell by using laser engravers, this article goes in-depth and builds a solid background for your new niche.
The search volume of people searching for “how to make jewelry to sell” on the internet has significantly increased, and the reason behind it is the rise of laser technology penetrating the DIY and small industries. Laser cutters and engravers can be an excellent investment when it comes to making money from jewelry items, which happen to be the best-selling product categories on platforms like Etsy.
Before you learn how to make jewelry to sell on such platforms by using your laser gear, let's go through the basics first:

Laser Engraving and Jewelry
In terms of accuracy and creativity in complex designs, laser engravings are unmatched as compared to conventional cuttings using hand techniques. The laser technology uses fine beams of high-power lights that can precisely cut the materials into extremely small and fine lengths, which would be impossible to do with hands. What’s more, this technique can be used on a wide variety of materials, including gold, silver, stainless steel, platinum, and titanium, which are commonly used materials for jewelry.
If you are planning to move into the jewelry market or are just thinking of further developing an existing business, the application of laser technology can benefit you, as it can help you make unique products and attract a new customer base. This is because, with laser engravers and cutters, you can virtually create infinite designs that are both complex and economical.
These benefits apply to all jewelry categories, including earrings, bracelets, and rings, which happen to be the most popular custom jewelry options on e-commerce platforms. To get started, this is how to make jewelry to sell on e-commerce platforms by using a laser cutter:
1. Choosing the Right Laser Engraver


Several factors should be considered when deciding which laser engraving machine to choose for your jewelry company. First, the power source output is important because this determines the speed at which your engravings will be done as well as the depth reached. For DIY and custom jewelry shops and normal jobs, a low-power laser ranging from 10 to 30W should suffice.
Moreover, the speed of the laser machine depends on the marking area, marking depth, and laser spot size. The software and control system of the machine should be flexible and easy to operate to enable a user to customize the design of the item and also to engrave with high accuracy. Also, a proper workspace that has good lighting, adequate ventilation, and a clean environment is vital to preventing machine breakdowns and possible incidents.
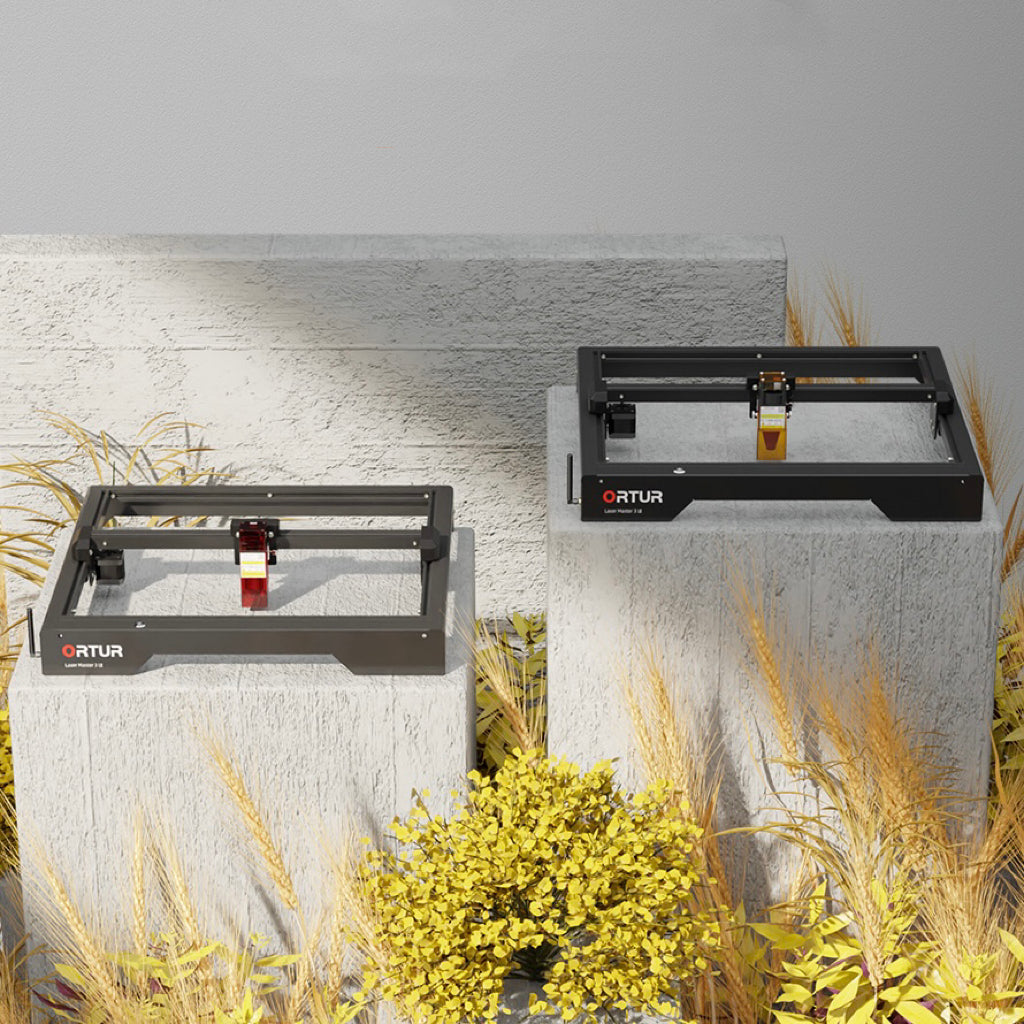
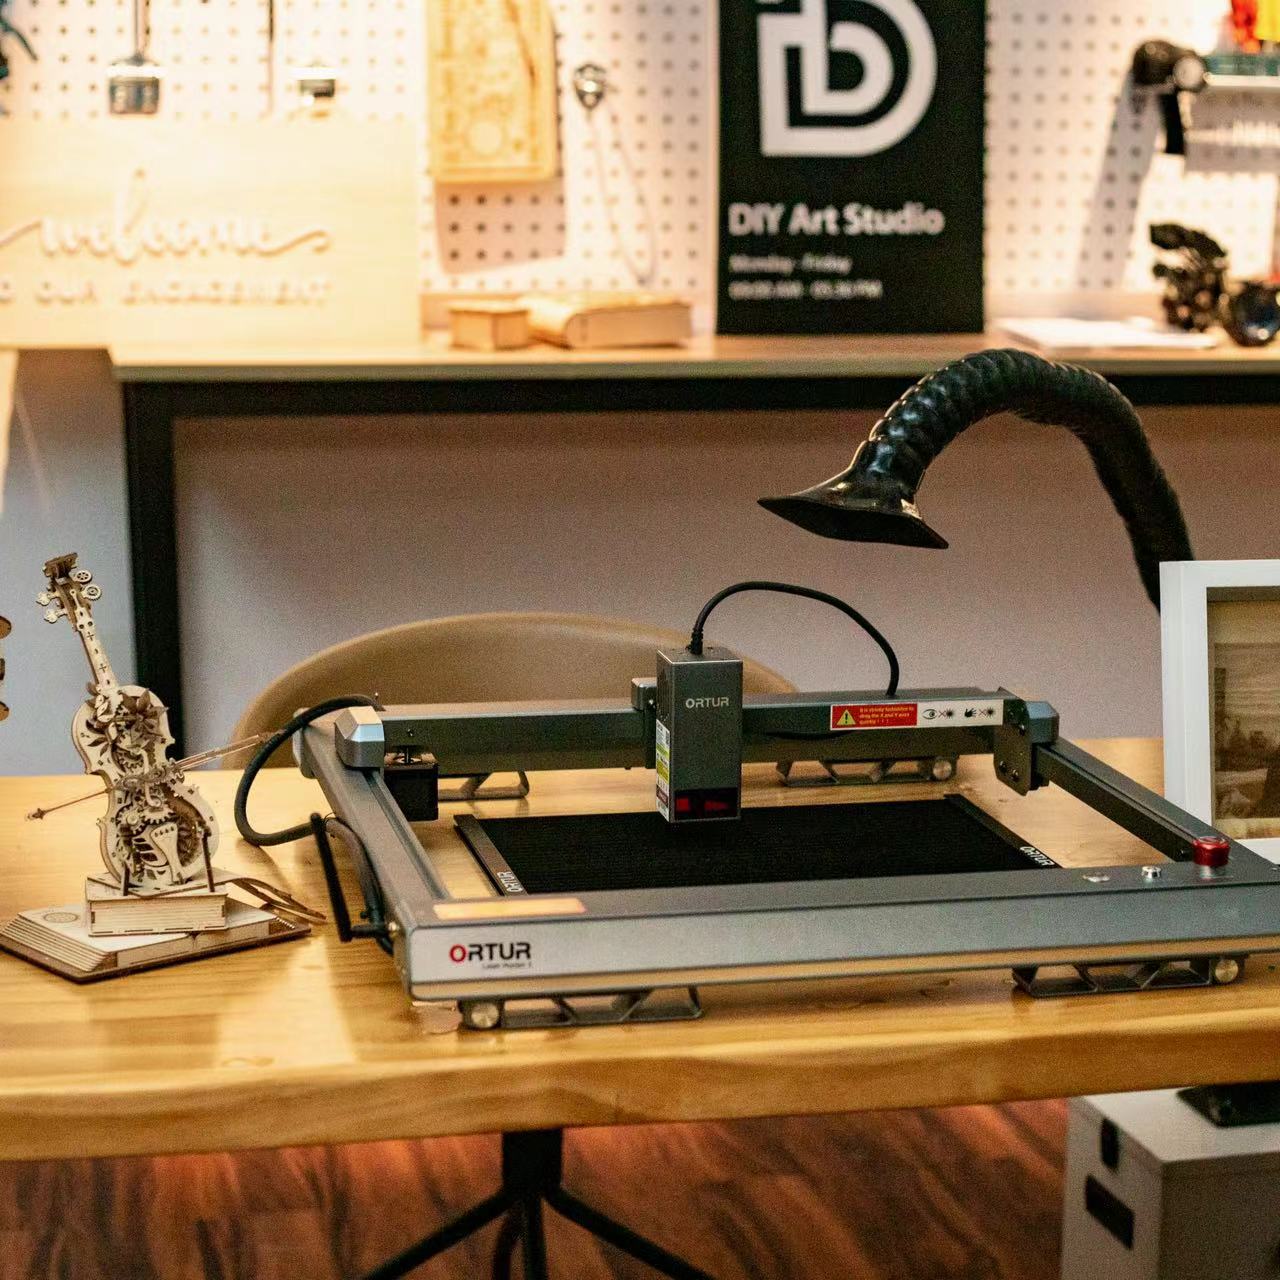
The Ortur LM3 checks all the criteria explained above, as it features advanced CMOS technology coupled with a super-efficient cooling system. An accurate “Quick Focus Stick” with a 5-watt laser system makes sure that the engravings on your jewelry are accurate and can keep up with your complex designs.
2.Download a Design or Make One
Okay, now once you are all set with the laser gear, the next obvious thing is to get a design. For a DIY jewelry shop, nowadays engravings are particularly in trend for weddings and important days. People like to engrave their names, dates, or quotes and for that, you need to have a good font collection compatible with your laser engraver software. You can always find font online where there are tons of free ones but always make sure that the designs are resolution-free vector files that contain geometric data in the form of paths or strokes and don’t lose quality.
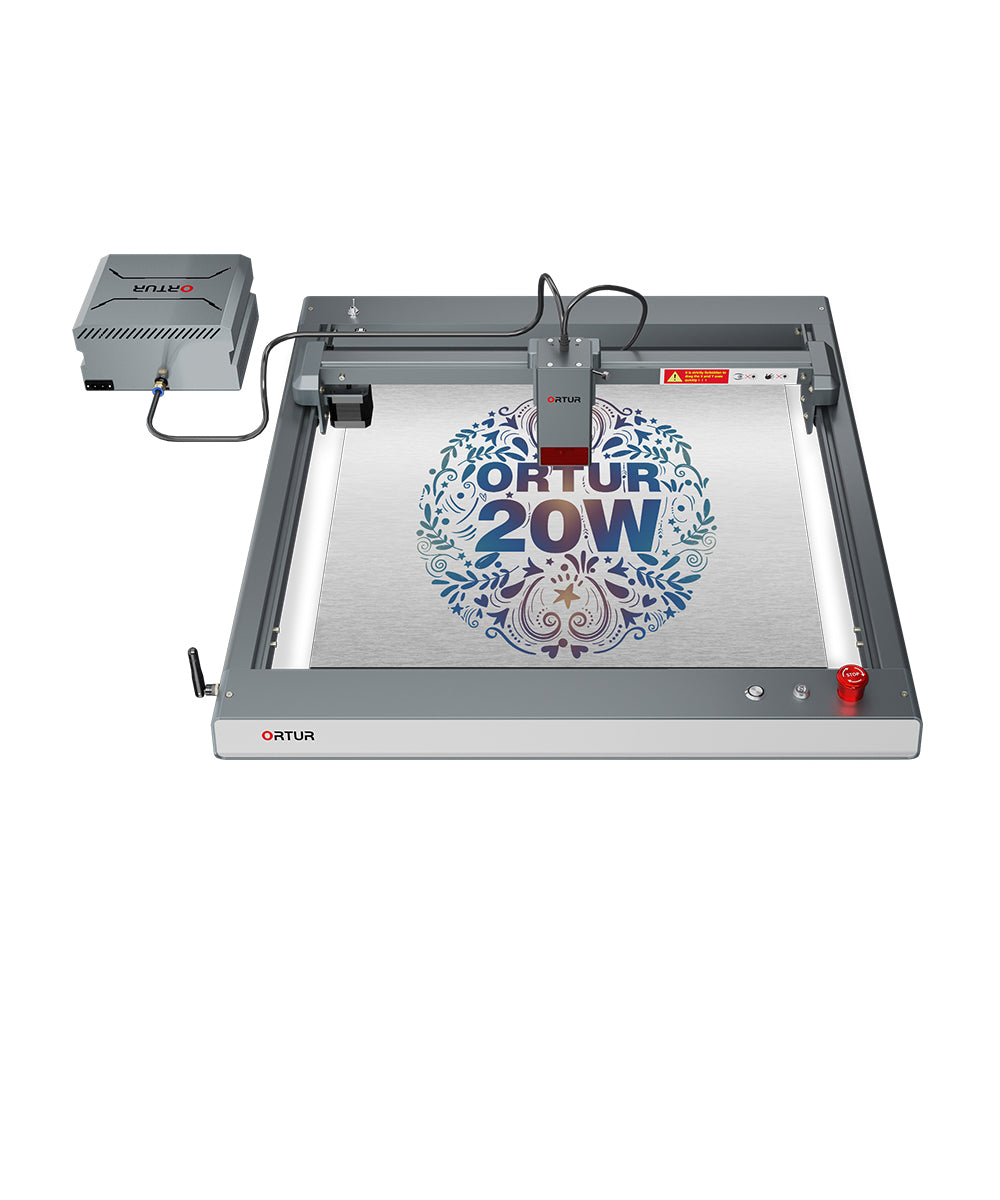
Or you can go with a completely new design cut with laser beams, these can include filigree patterns, mandalas, and common geometric shapes to name a few. Possibilities are endless, but make sure to go with durable, practical designs. For best results, use the Ortur LM3 20W laser cutter and engraver and get started with it quite easily.
3. Import your Design
Once you are done with the design, import your design into the compatible software to start the engraving or cutting process. For Ortur LM3, the OEM software is Inspiraesth which is designed to get the best results and is optimized for this particular laser cutter. You can also go with third-party options like LaserGRBL and Light Burn.
4. Execute with proper Accessories
Wear PPEs, Always! That’s the number 1 rule. Once you start executing the engraving, make sure that there is no dust collecting in the area and you can remove it by periodically wiping or blowing it away. Thanks to the double cooler fan and guided blinds installed in the LM3, you won’t have to worry about this problem as it fans can reach 10,000rpm blowing away any buildup.
5. Post Treatments
Once your shiny new DIY jewelry is engraved, it might go with natural degradation due to oxidation, tarnish, fading, and wear/tear over time. We recommend investing in electroplating and liquid polishers before selling such pieces to make happy customers rather than bad reviews. Now you know how to make jewelry to sell engraved with laser tech, its time you start investing your time in designs and suitable fonts for perfect engravings.


Keep in Touch with Ortur
Related Articles
Related Articles
